

FAVORITE ITEM SOLD OUT? SEND US A MESSAGE - WE CAN MAKE TO ORDER, WITH A TWO WEEK TURN AROUND!
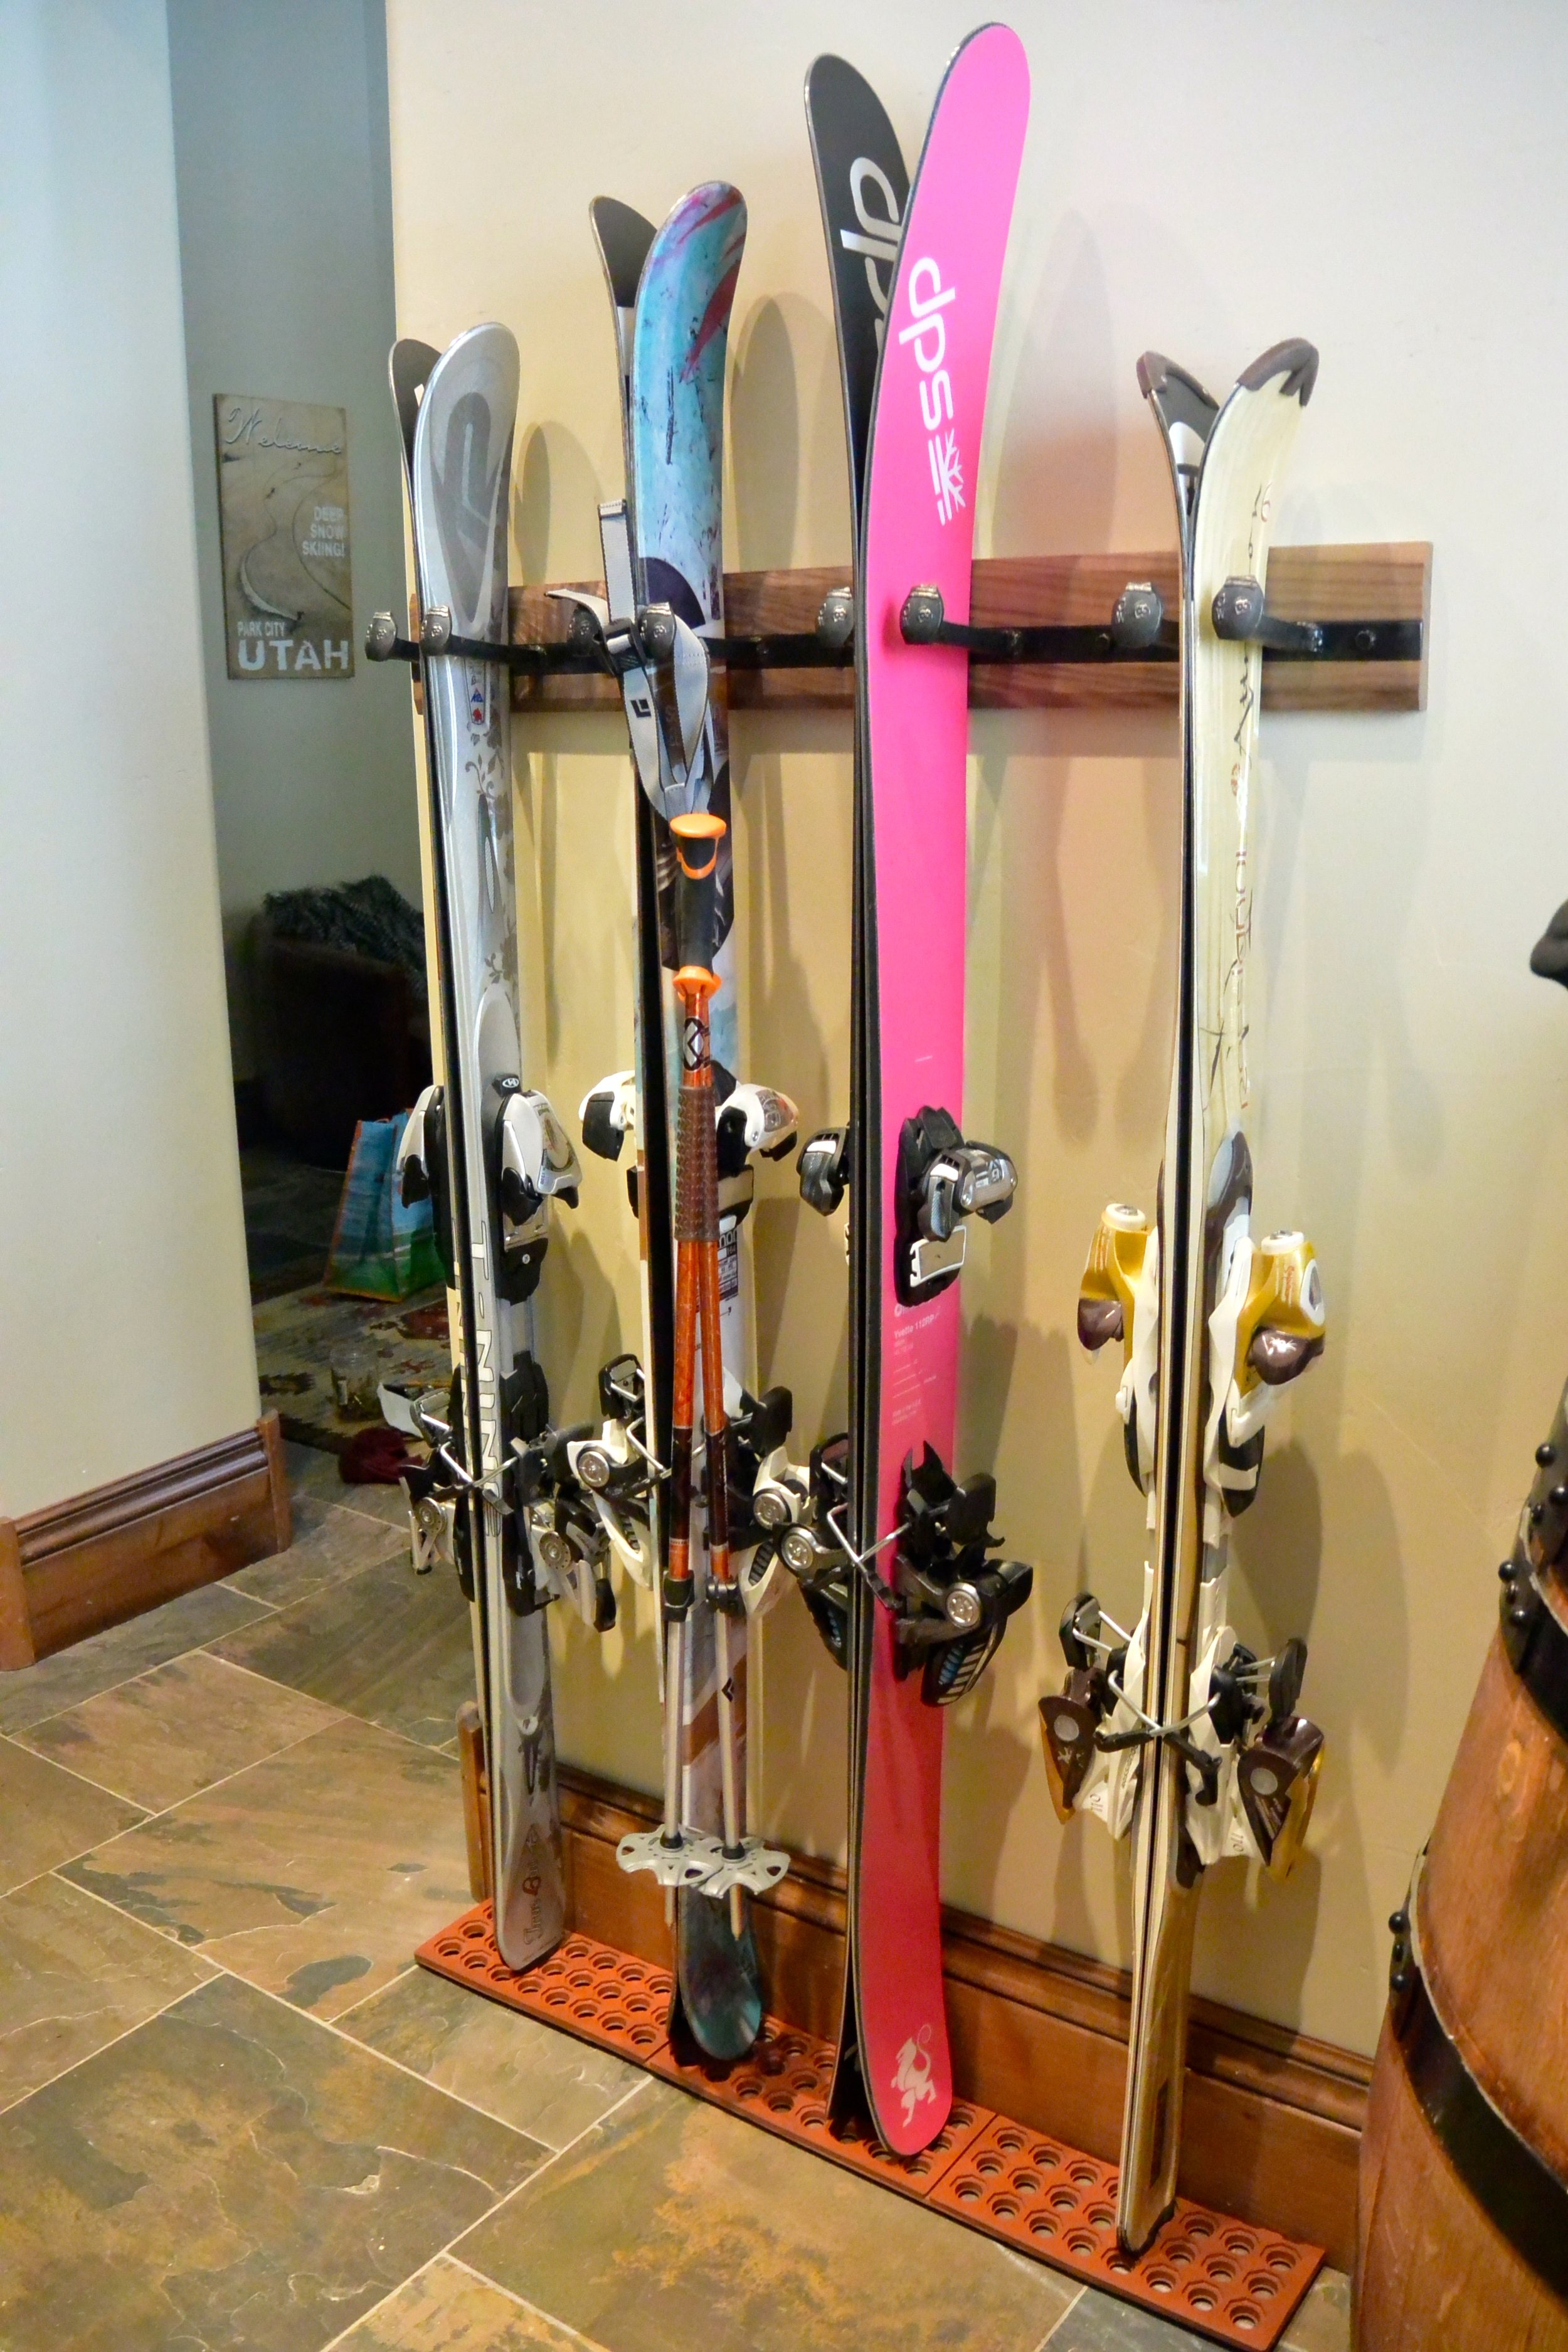
Timpanogos 4 - Contemporary Magnetic Ski Rack with Rubber Mat

Timpanogos 4 - Contemporary Magnetic Ski Rack with Rubber Mat
A contemporary, magnetic grab-and-go ski and pole rack handcrafted from premium materials.
Timpanogos is an imposing mountain near Park City, UT. A continuous 6,000' descent is the reward for a hard fought approach. Usually skied in the spring by hardcore enthusiasts, Timp, as it is often referred to, is a beautiful peak with rugged dark cliff bands.
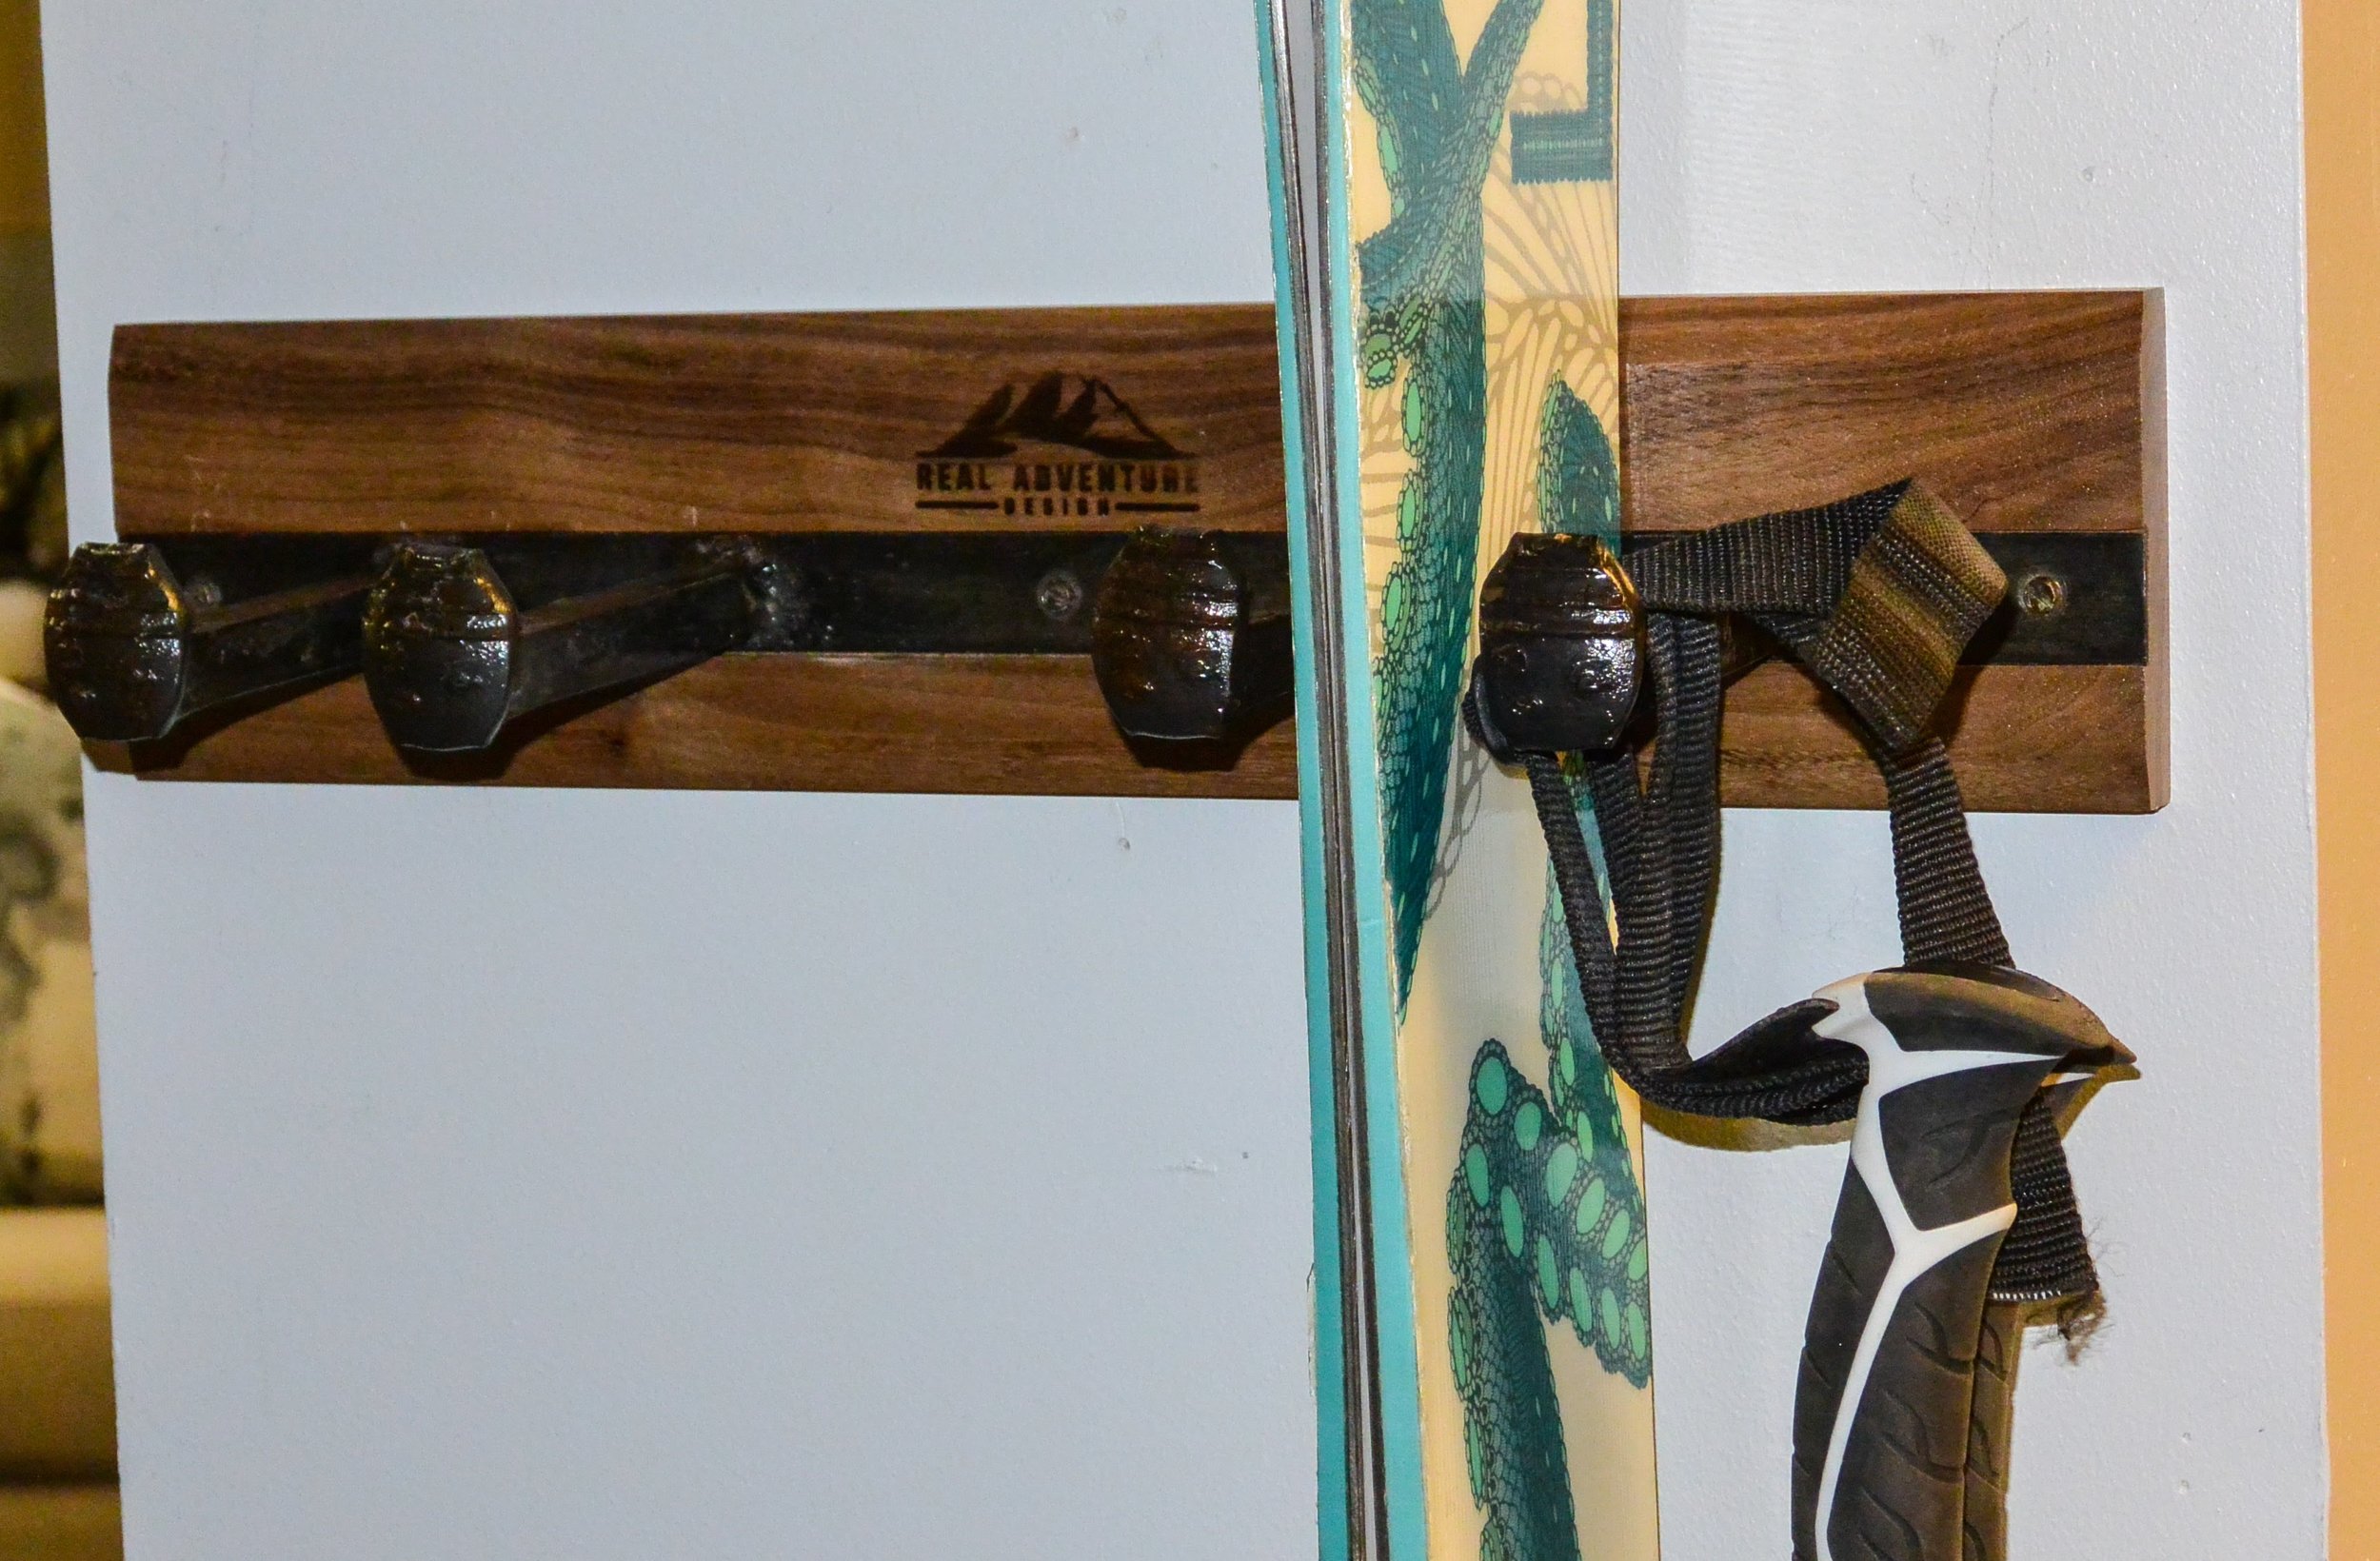
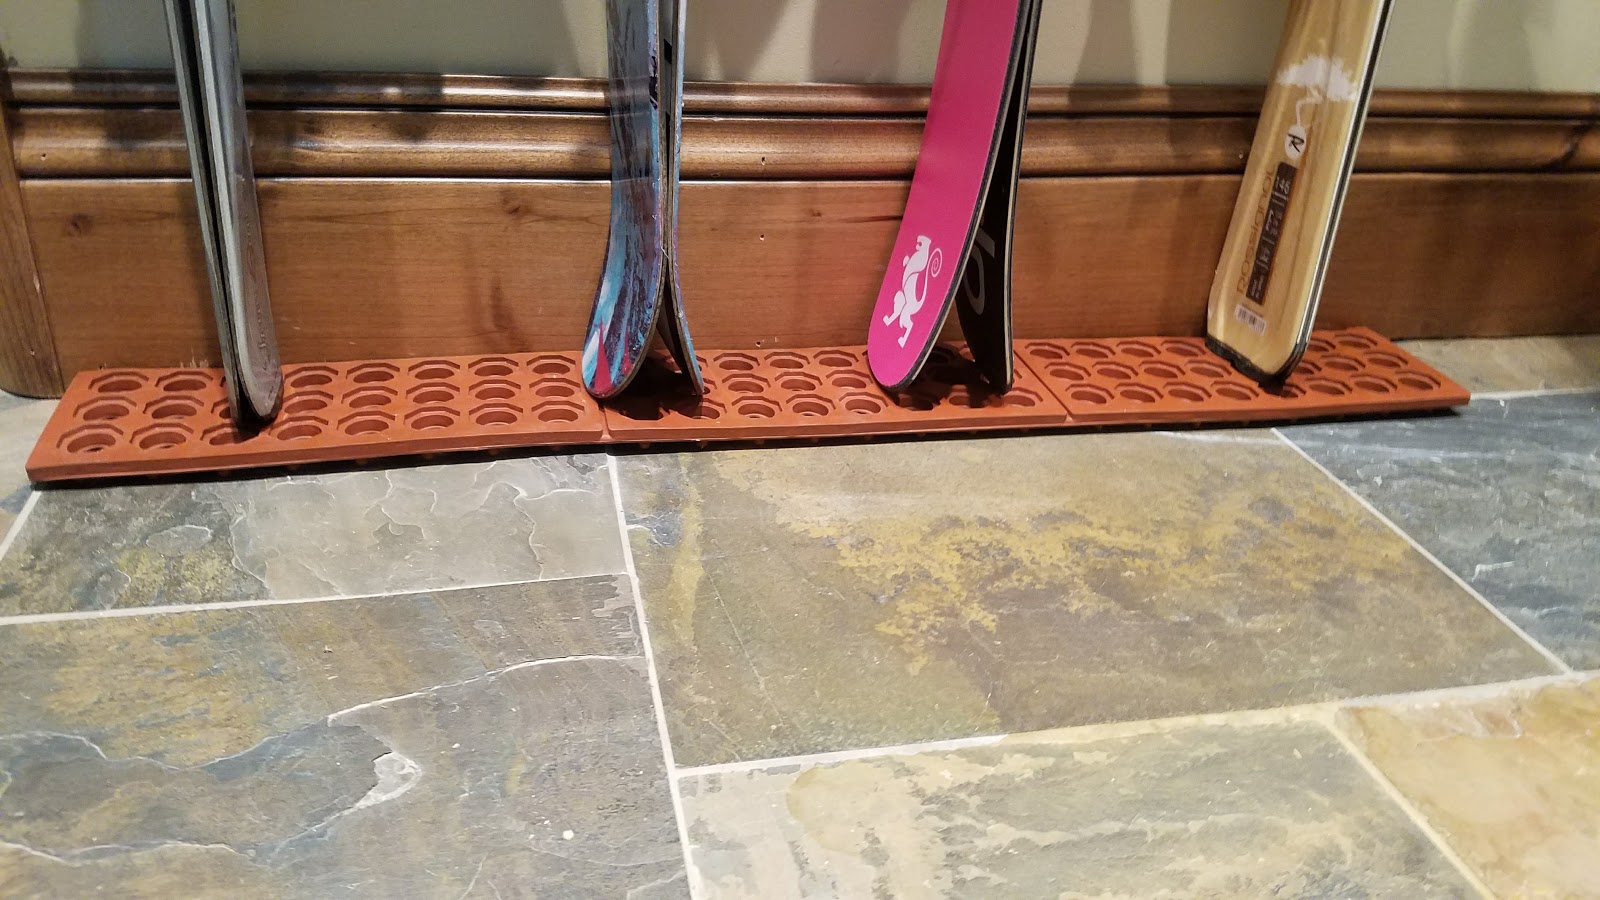
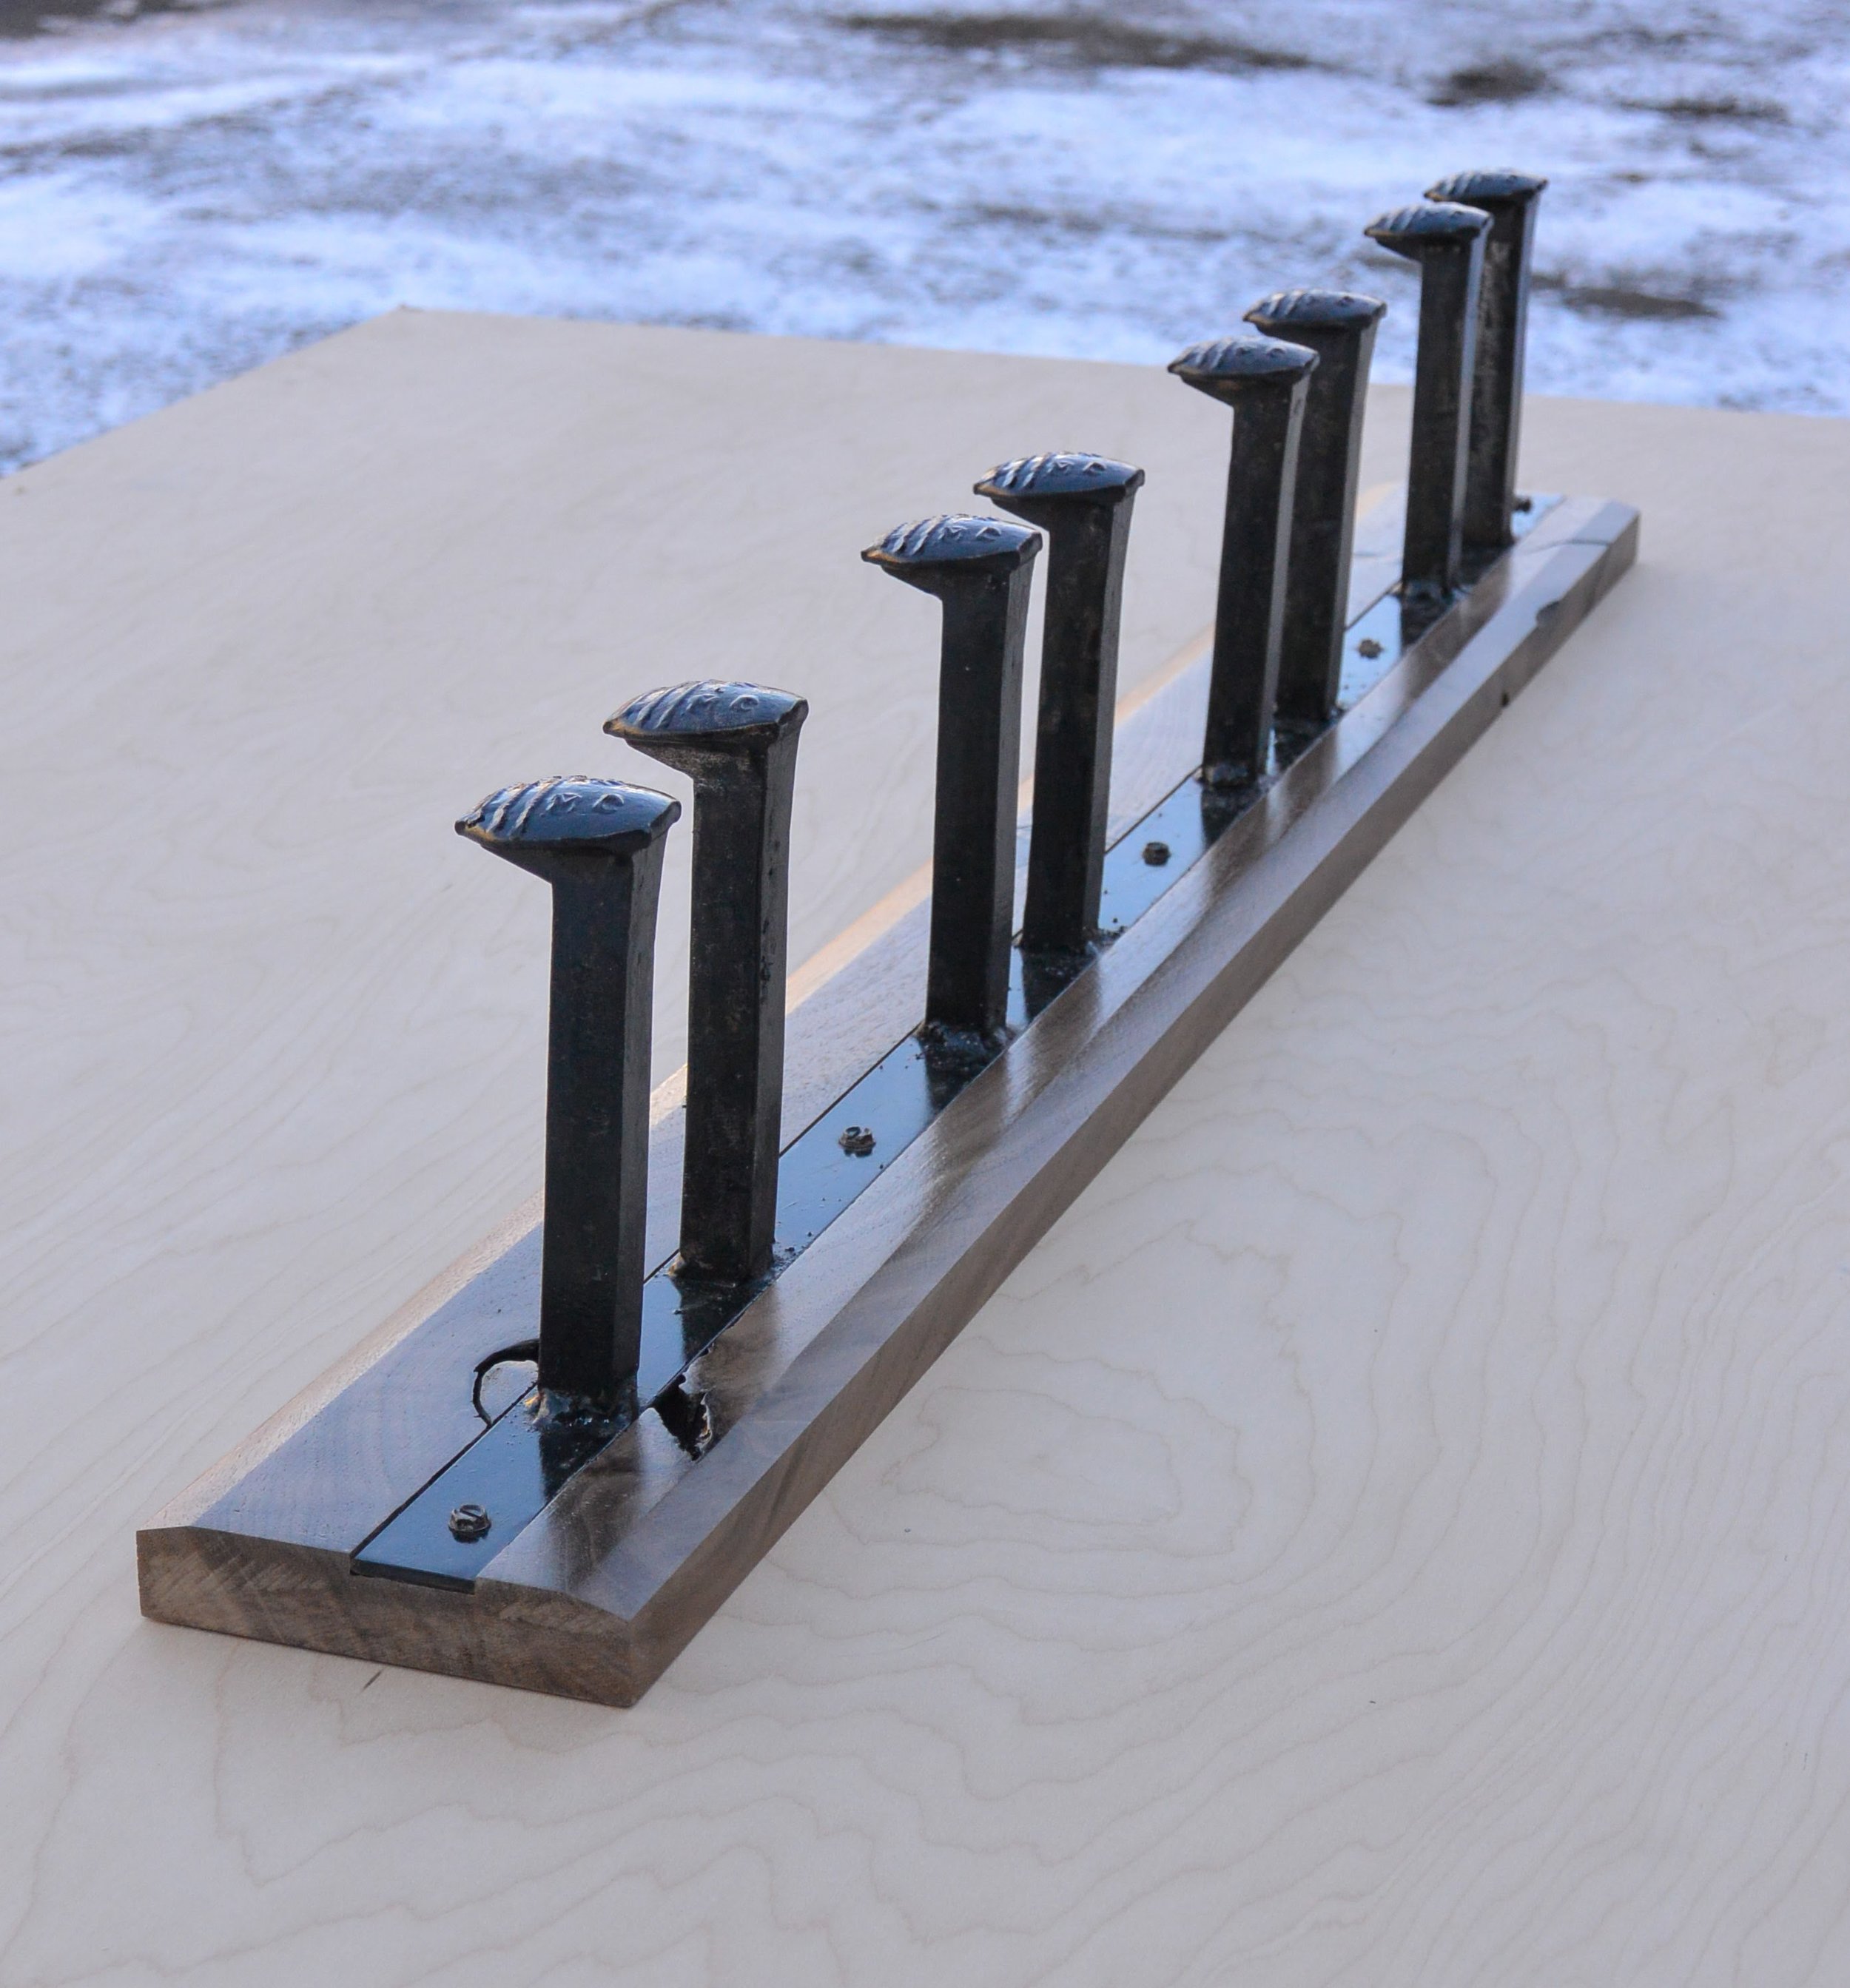
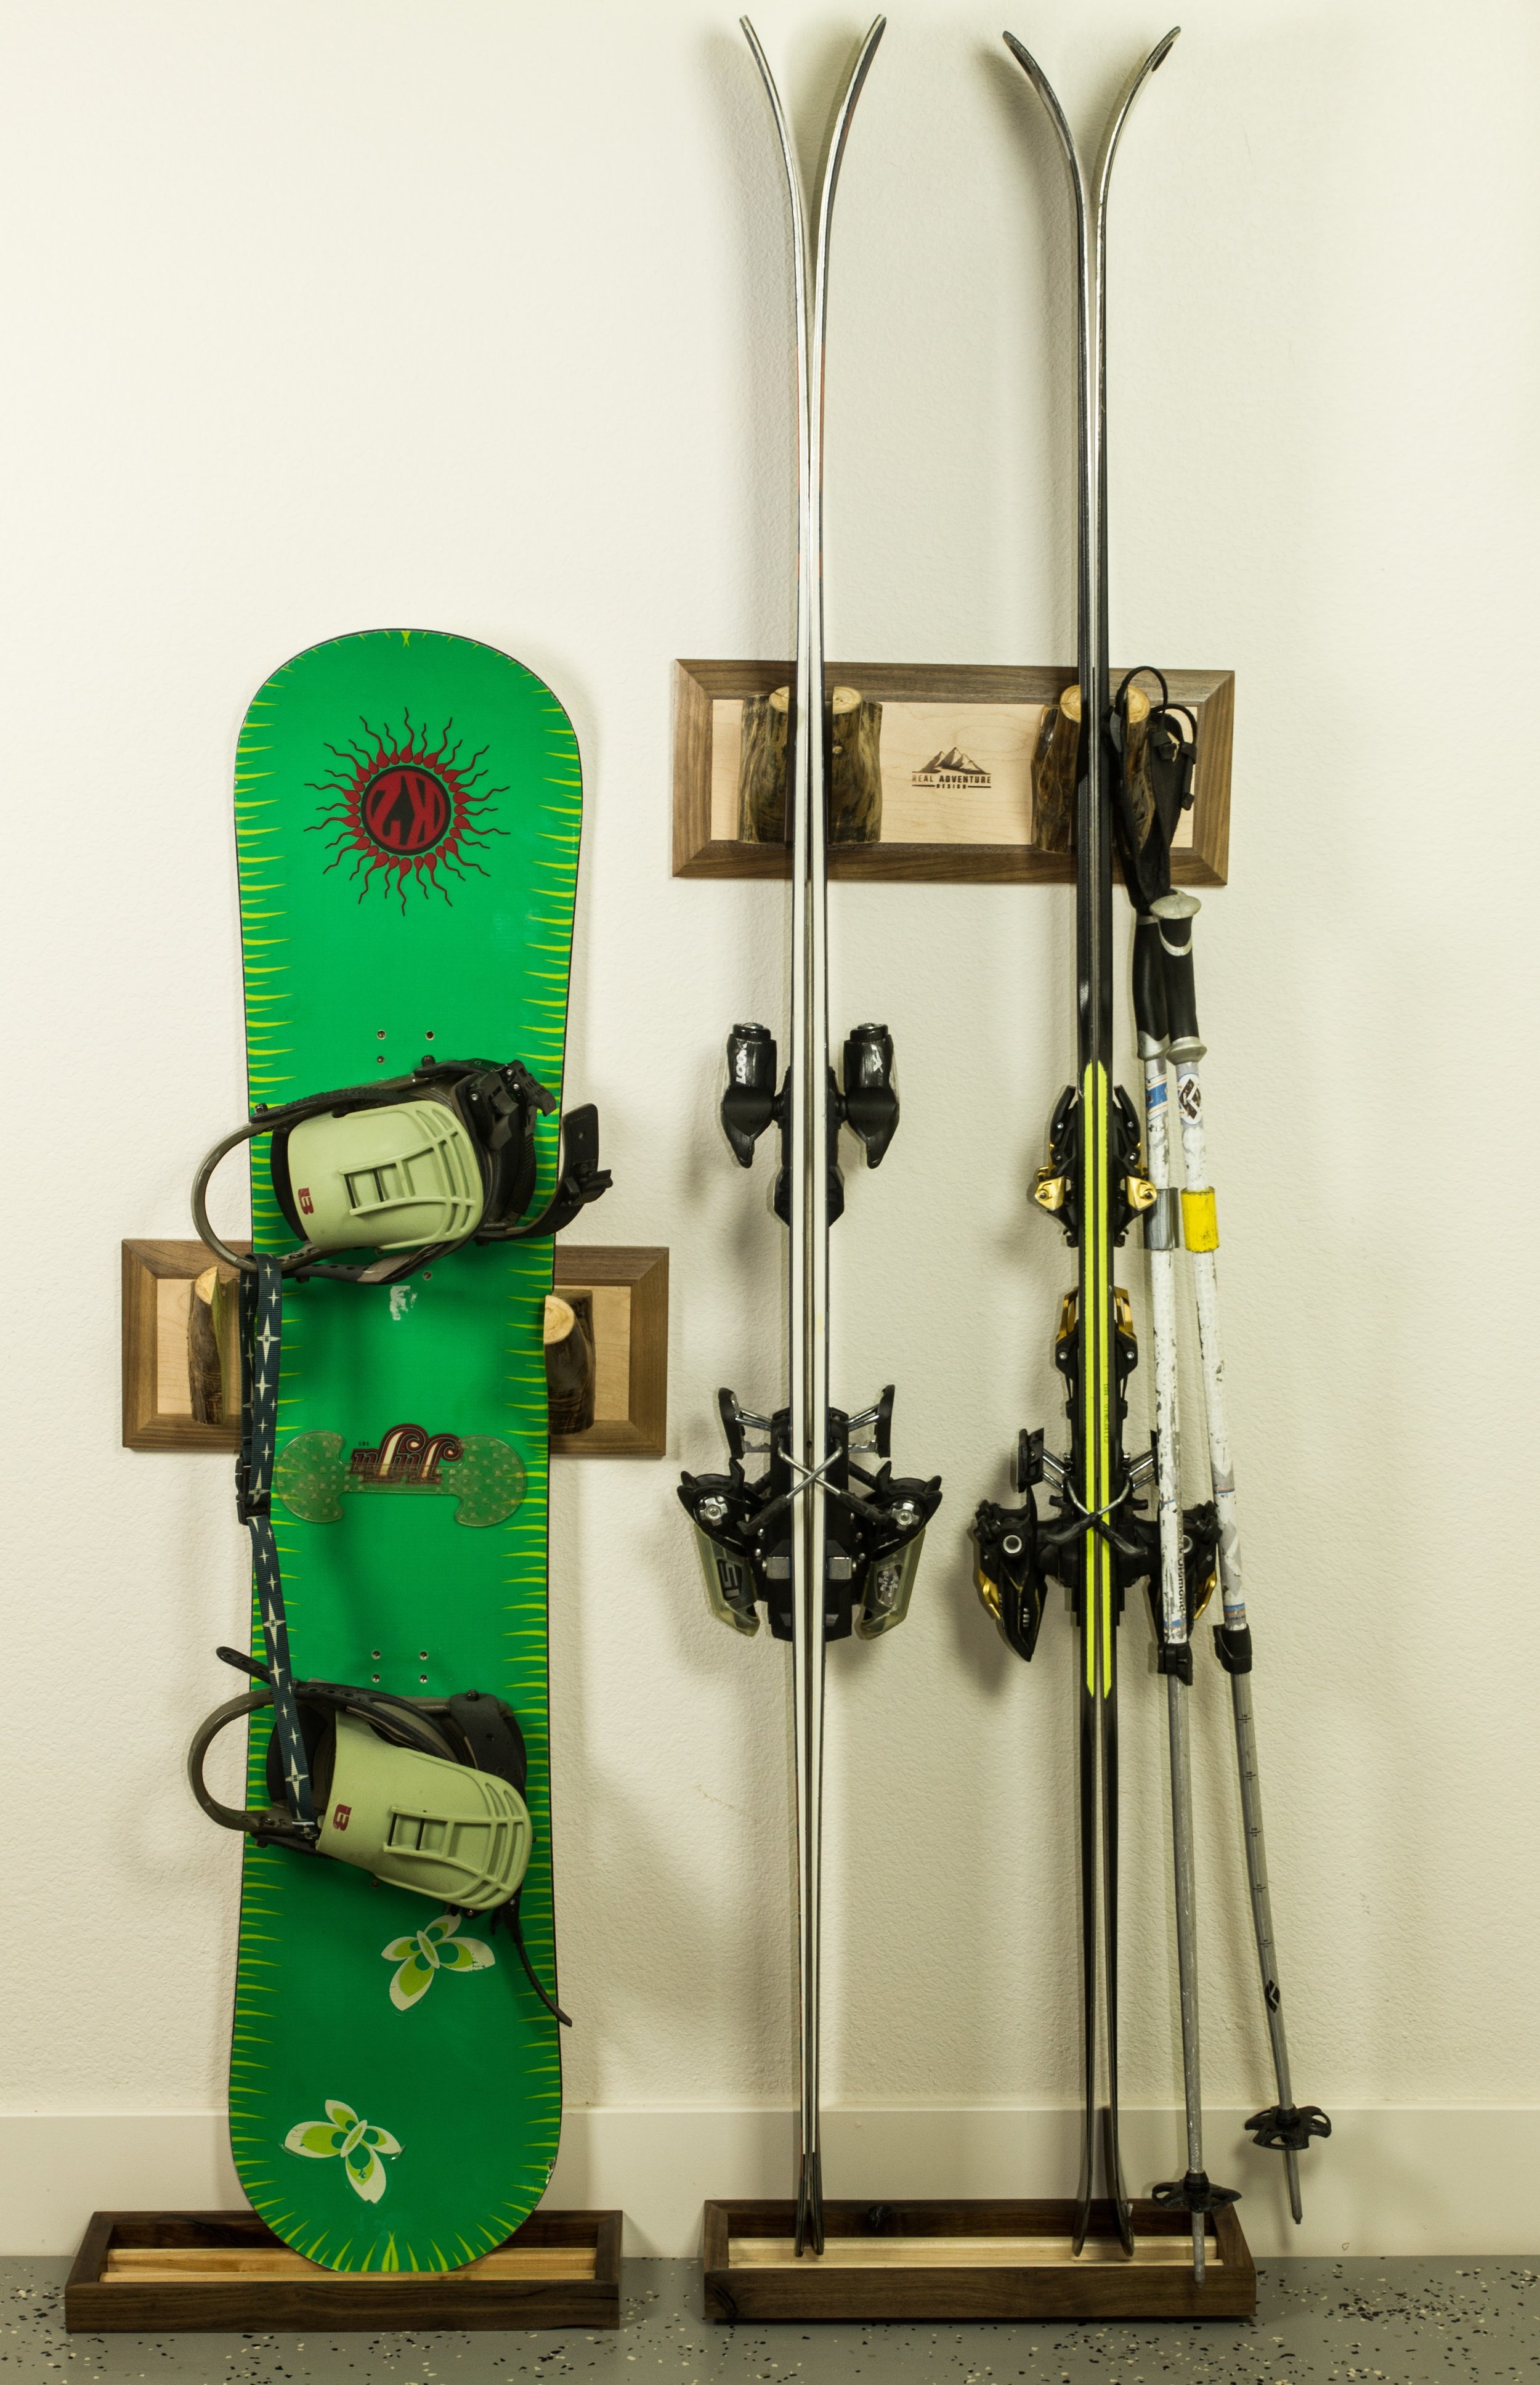
The Timpanogos ski rack has a darkened band of steel across its length, supporting rugged railroad spikes as ski dividers and supports. As with the Meaden ski rack, rare earth magnets firmly lock your ski edges to the surface of the rack. Because our ski racks grab the edges of your skis, you don't risk damaging your ski's performance by bending the ski tips. The raw walnut backing keeps your sharp edges from getting dinged on the steel, and the rubber mat keeps your skis off the garage floor.
Mounting hardware included. Ships via USPS.


We do custom Laser burning! For more information, go here!
Specs and Sizing
2 ski - 4.25" X 18"
4 ski - 4.25" X 36"
Features
Contrasting walnut and blackened steel will store your skis with class.
Rare earth magnets hold your skis securely, saving space.
Rubber mat keeps skis off the floor.
Easy installation with included hardware.
Handcrafted in the USA.
Construction and Materials
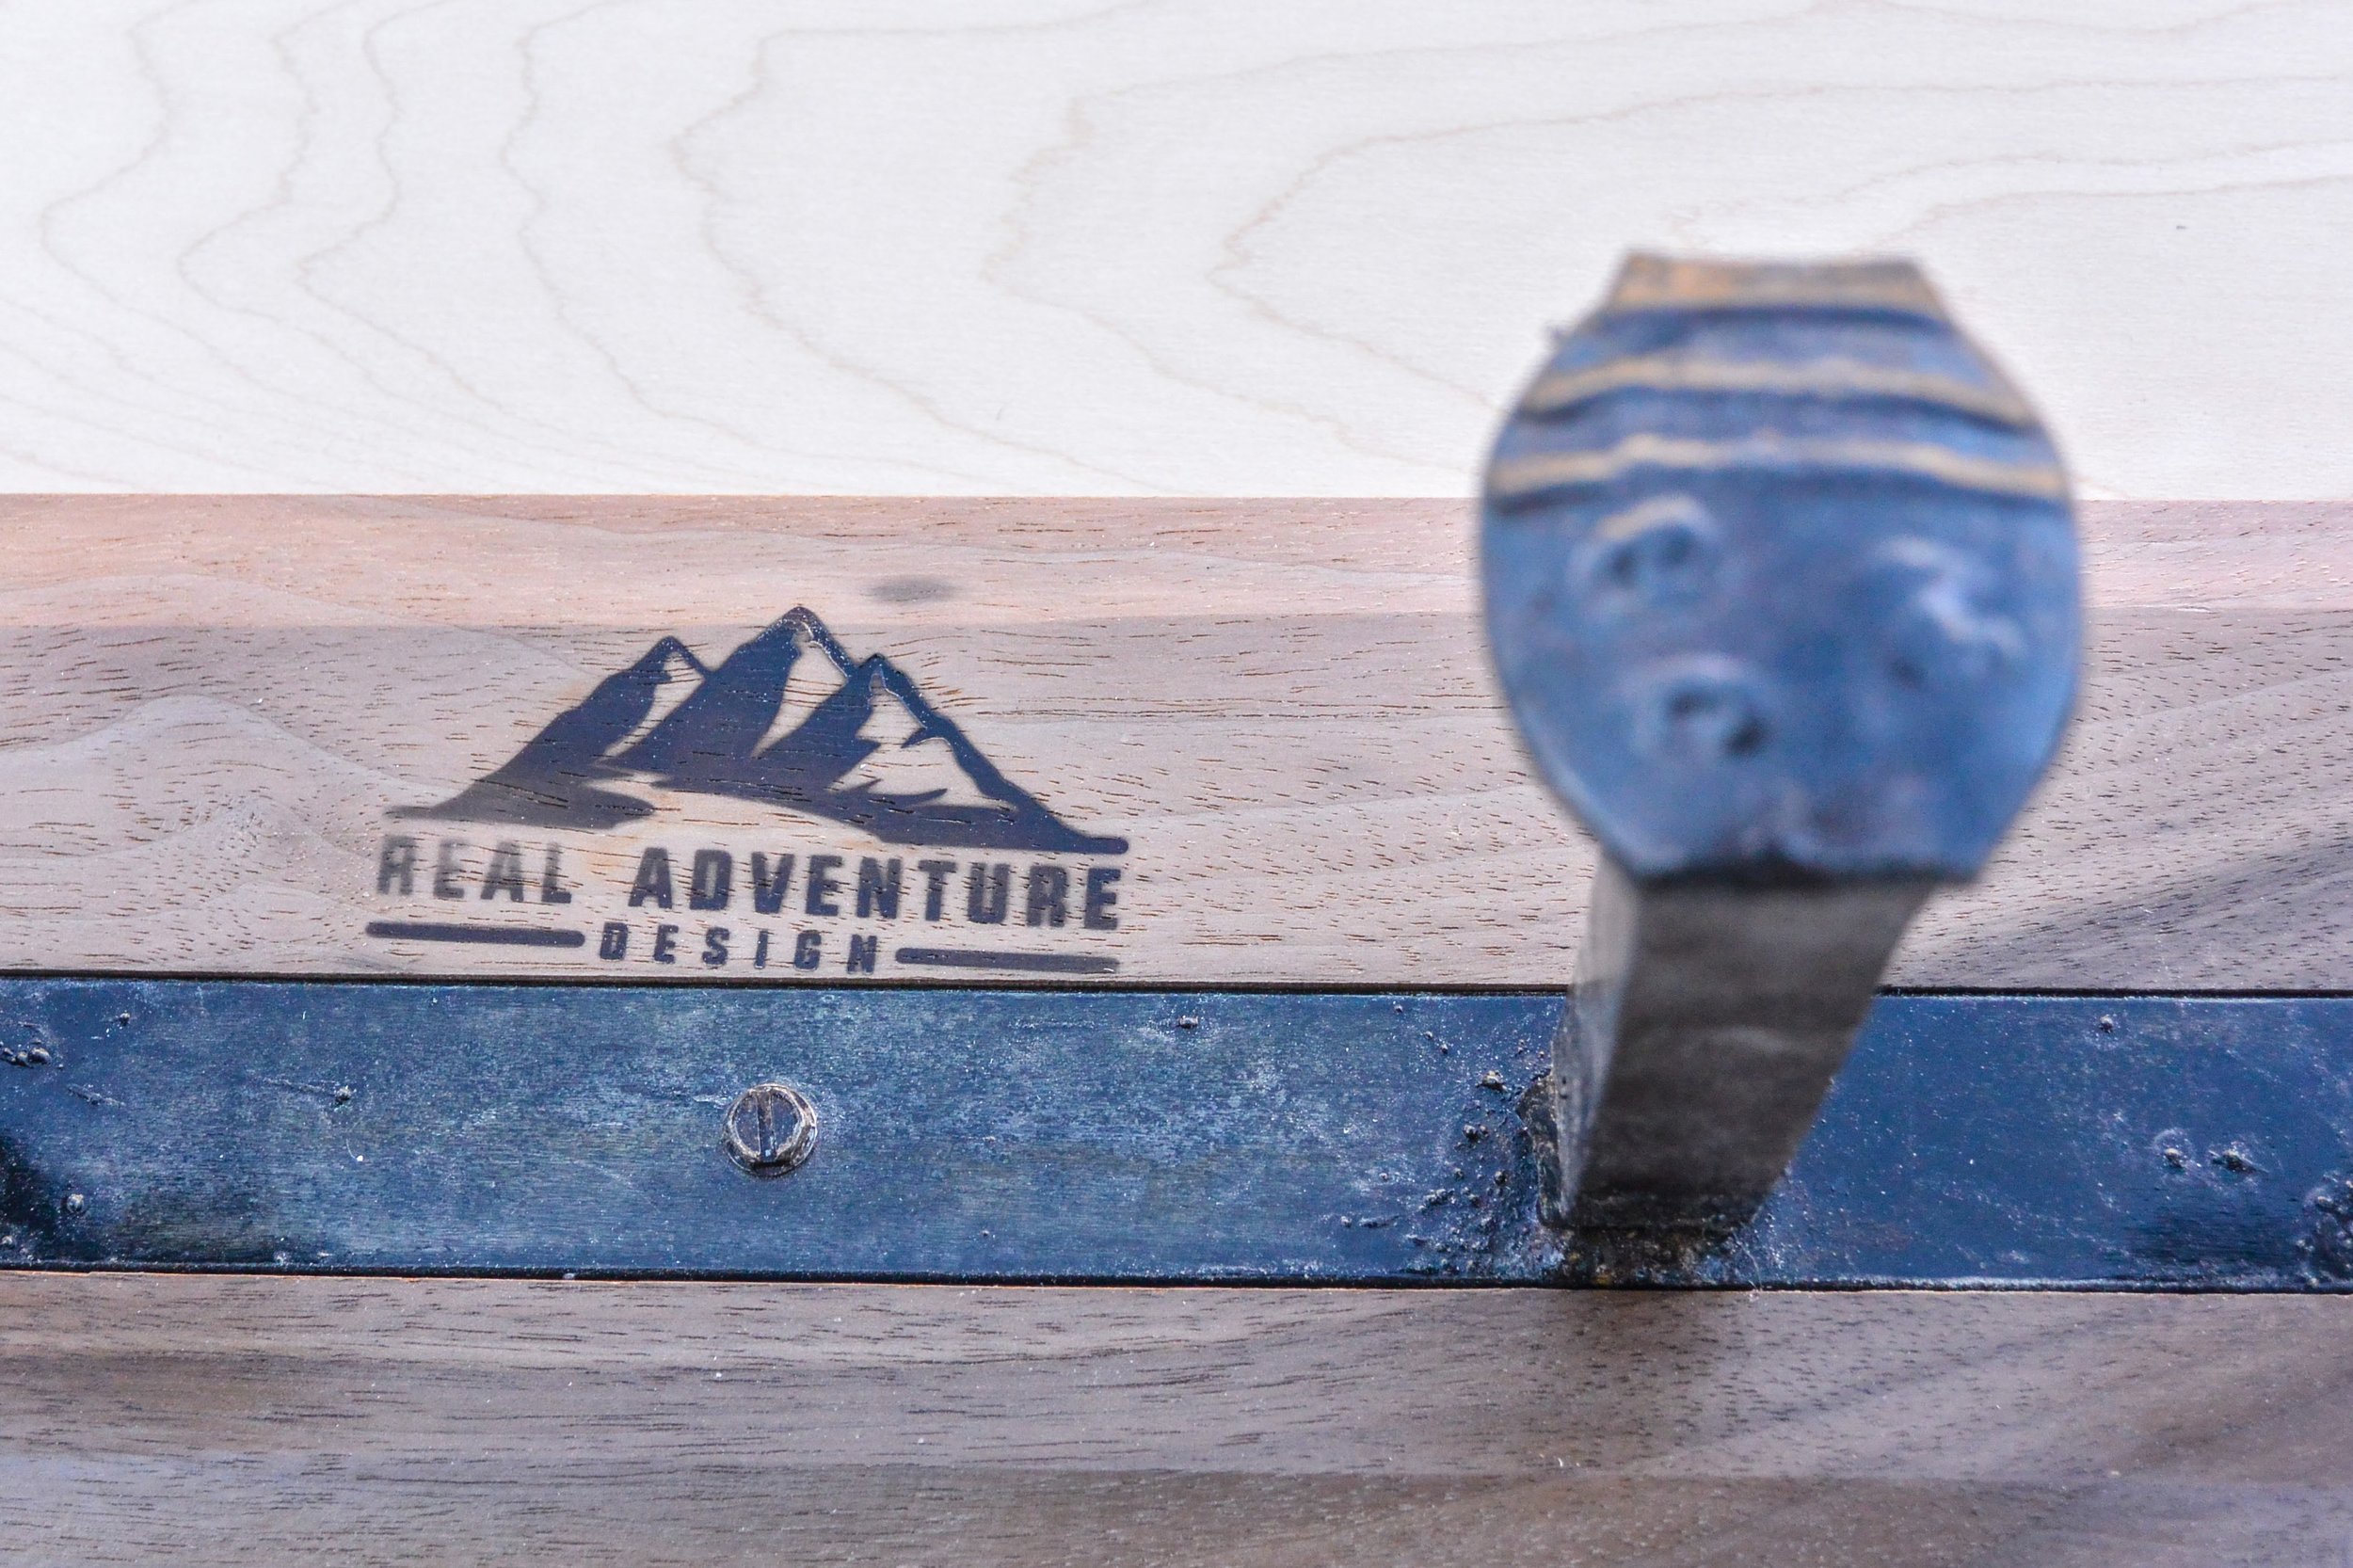
Steel and figured walnut.
Railroad spike ski dividers
Rare earth magnets within the rack.
Installing the Timpanogos ski rack - two options.
Using the permanent mounting tape
Decide where you want the rack to hang. Be sure to look at the height with the drip tray in place. Apply the 3M mounting tape to the rack and press firmly into place for 30 sec, keeping the rack level (there are great apps for this). For more information on the mounting tape, go here.
Using Keyhole Hardware - drill required
Pull out the included hardware pack, inside will be a drill bit, a driver bit, a template, and screws.
Decide where you want the rack on your wall. Be sure to look at the height with the drip tray in place. Mark the top left corner of where the rack will be.
Put the rack down, grab the template and the drill bit. Put the top left corner of the template on the mark you made. Level the template (there are great apps for this), and when satisfied, drill where indicated. Note if you hit a stud.
Remove the template and use the included screwdriver to install screws. Use the drywall inserts before the screws if you did not hit a stud and the wood screws where you hit a stud. Leave the screws proud of the wall and test by slipping the rack onto the screws. If it is loose, pull the rack off and tighten a quarter turn. If it cannot slip on, loosen. Continue until you are satisfied with the fit.