

FAVORITE ITEM SOLD OUT? SEND US A MESSAGE - WE CAN MAKE TO ORDER, WITH A TWO WEEK TURN AROUND!
Meaden 4 - Rustic Magnetic Ski Rack With Drip Tray

Meaden 4 - Rustic Magnetic Ski Rack With Drip Tray
A rustic, magnetic grab-and-go ski and pole rack handcrafted from premium materials.
Meaden Peak is a backcountry skiing gem near Steamboat Springs CO. The tree skiing stays deep long after the storm, and makes the trek well worth it. Like its namesake, the Meaden ski rack promises stunning, rustic views while waiting for the next storm.
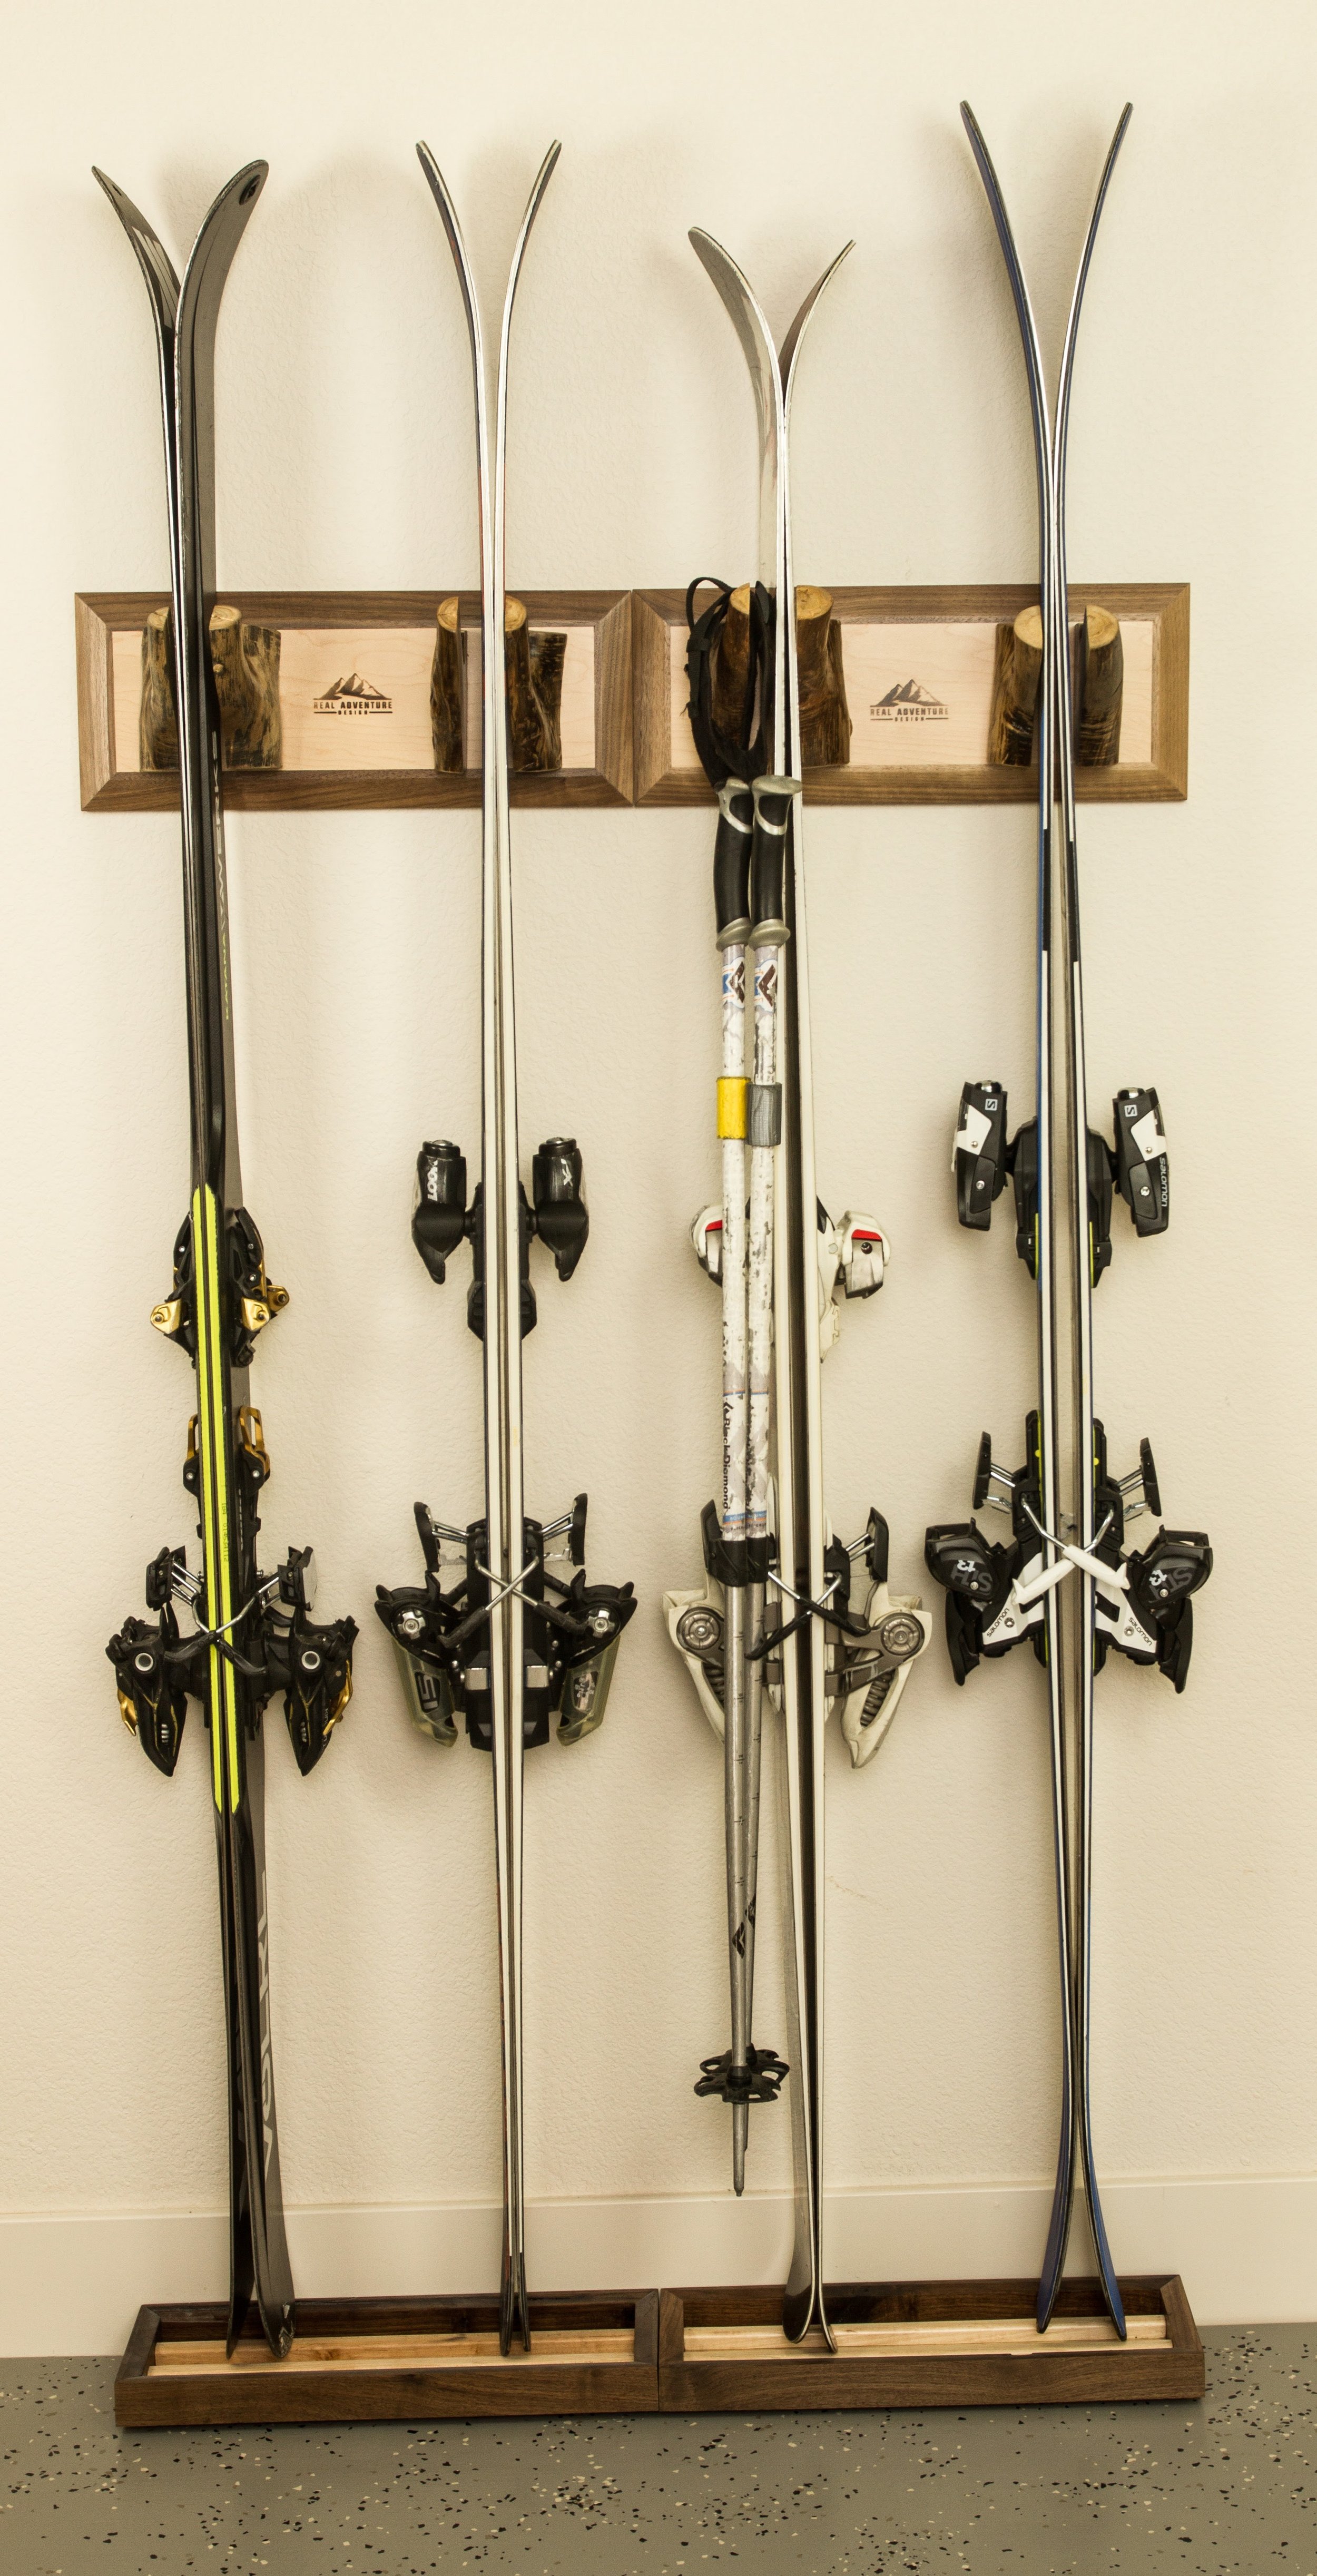
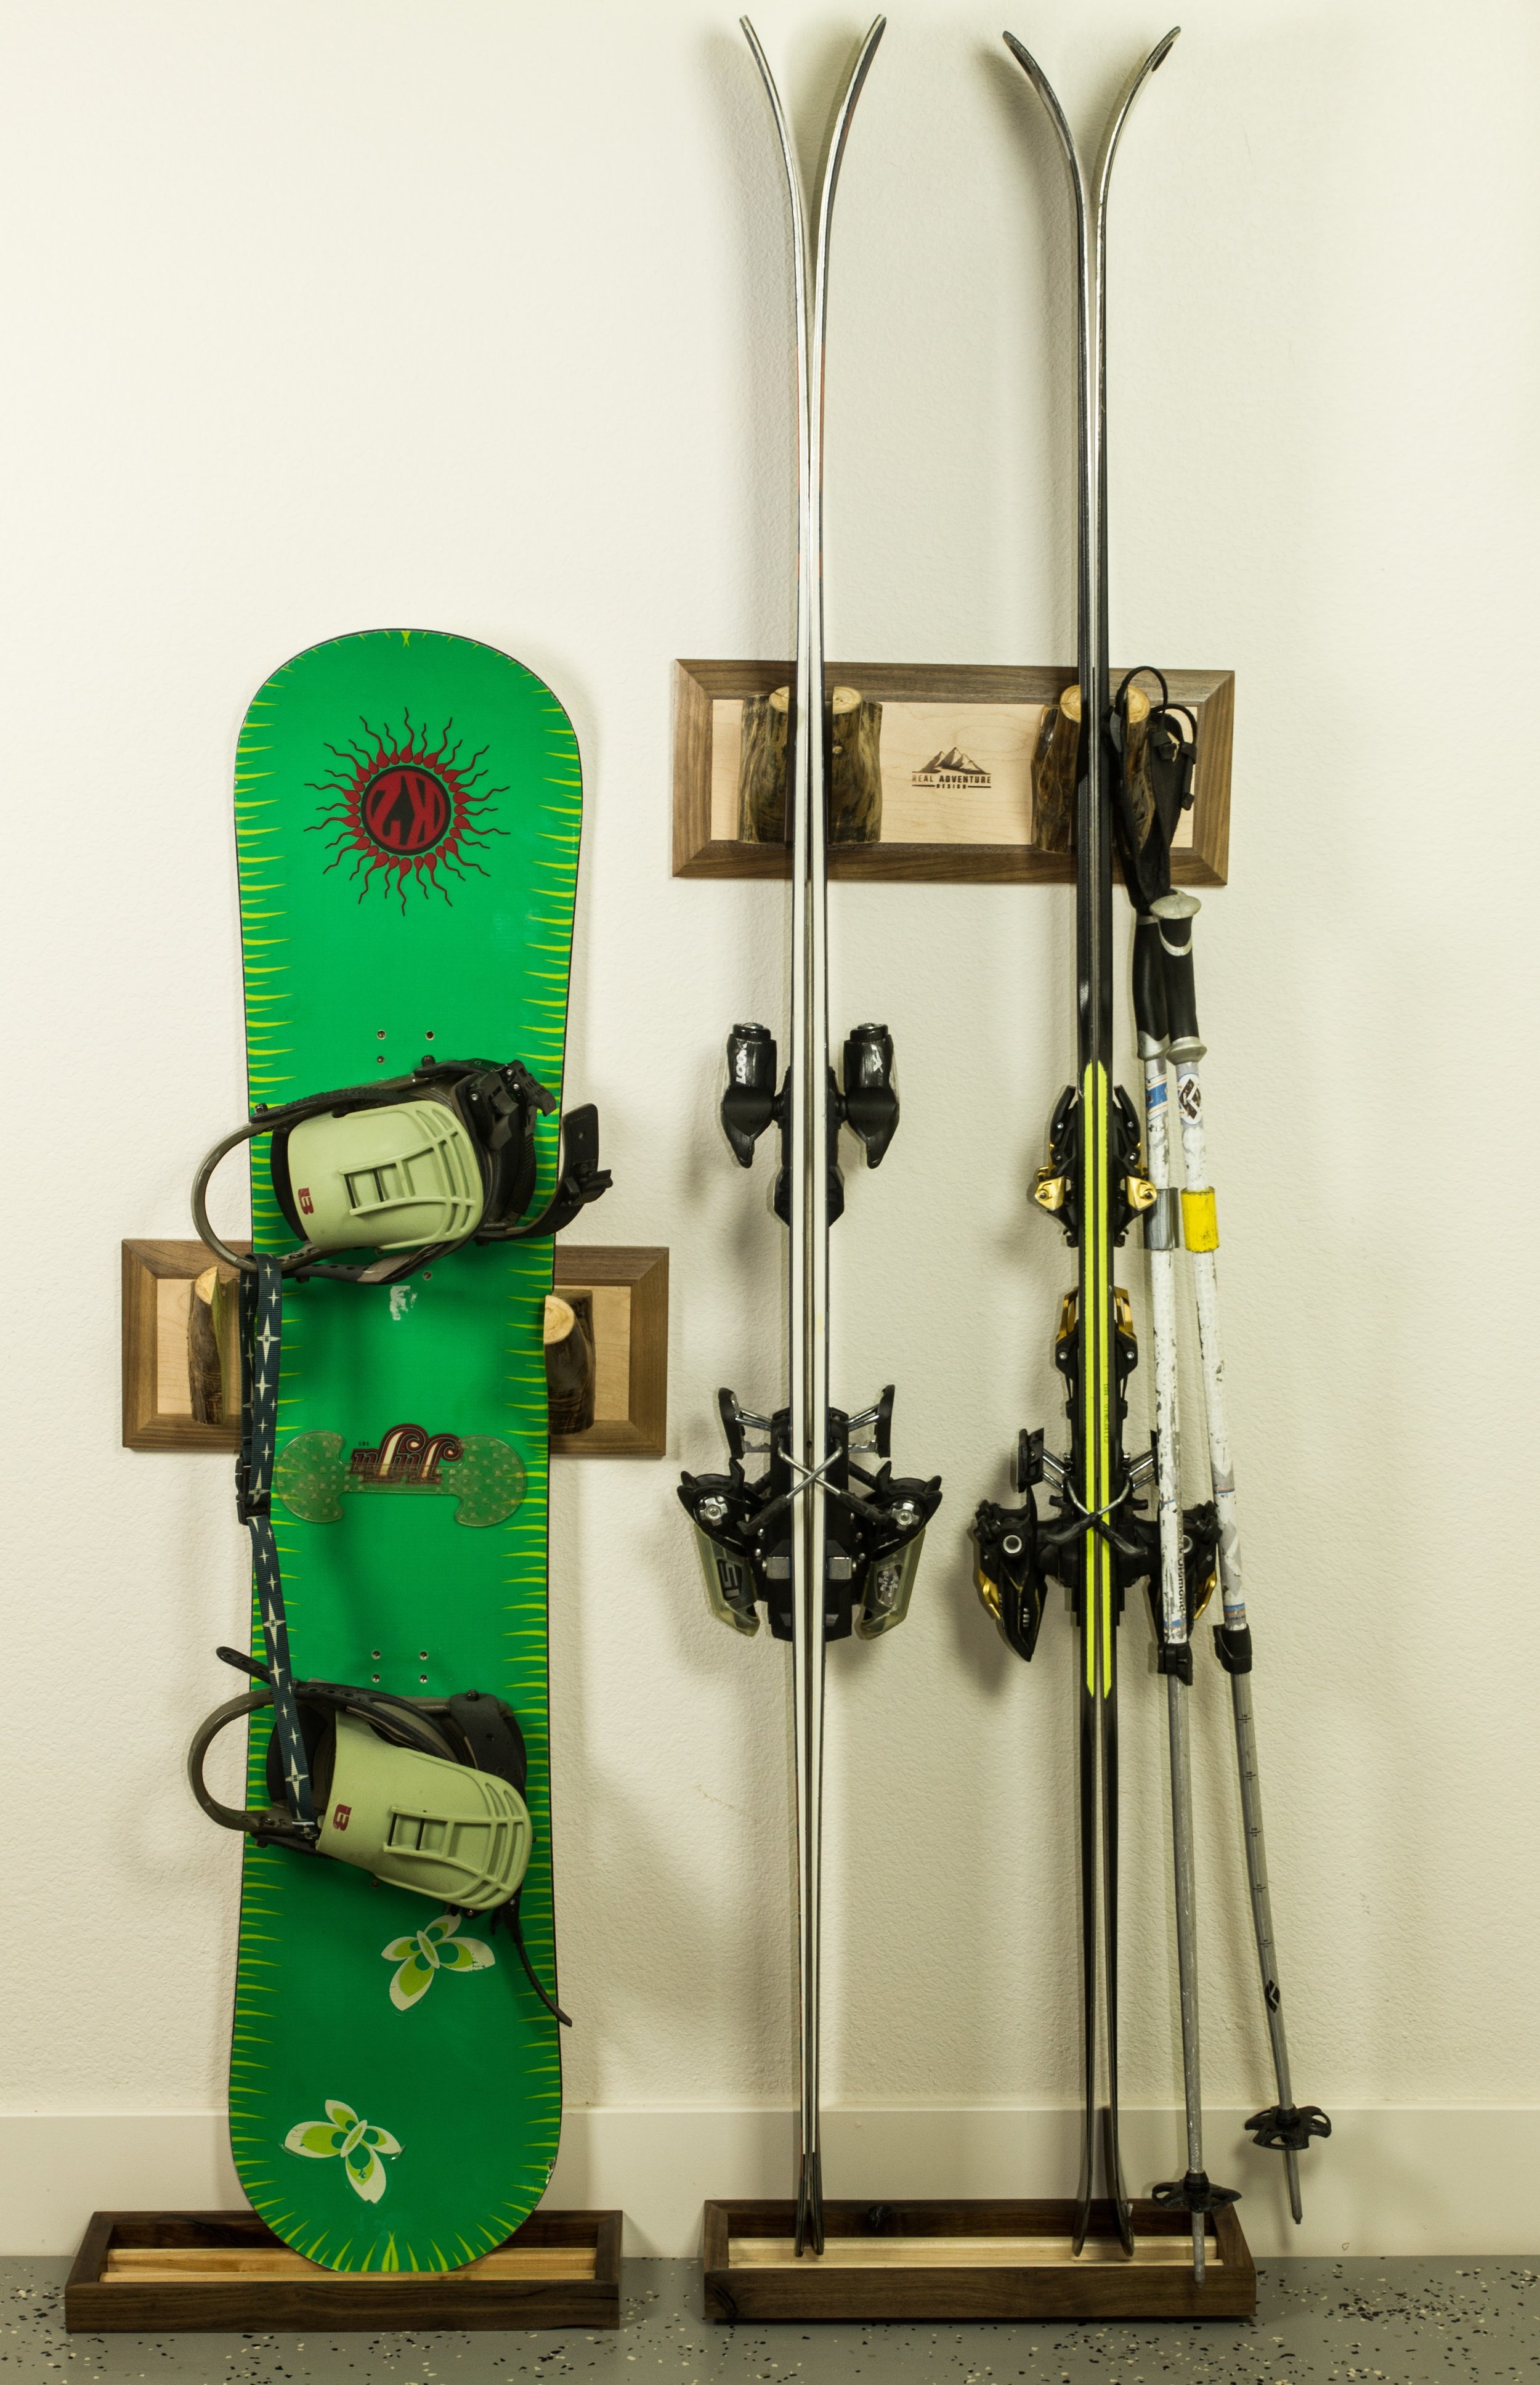
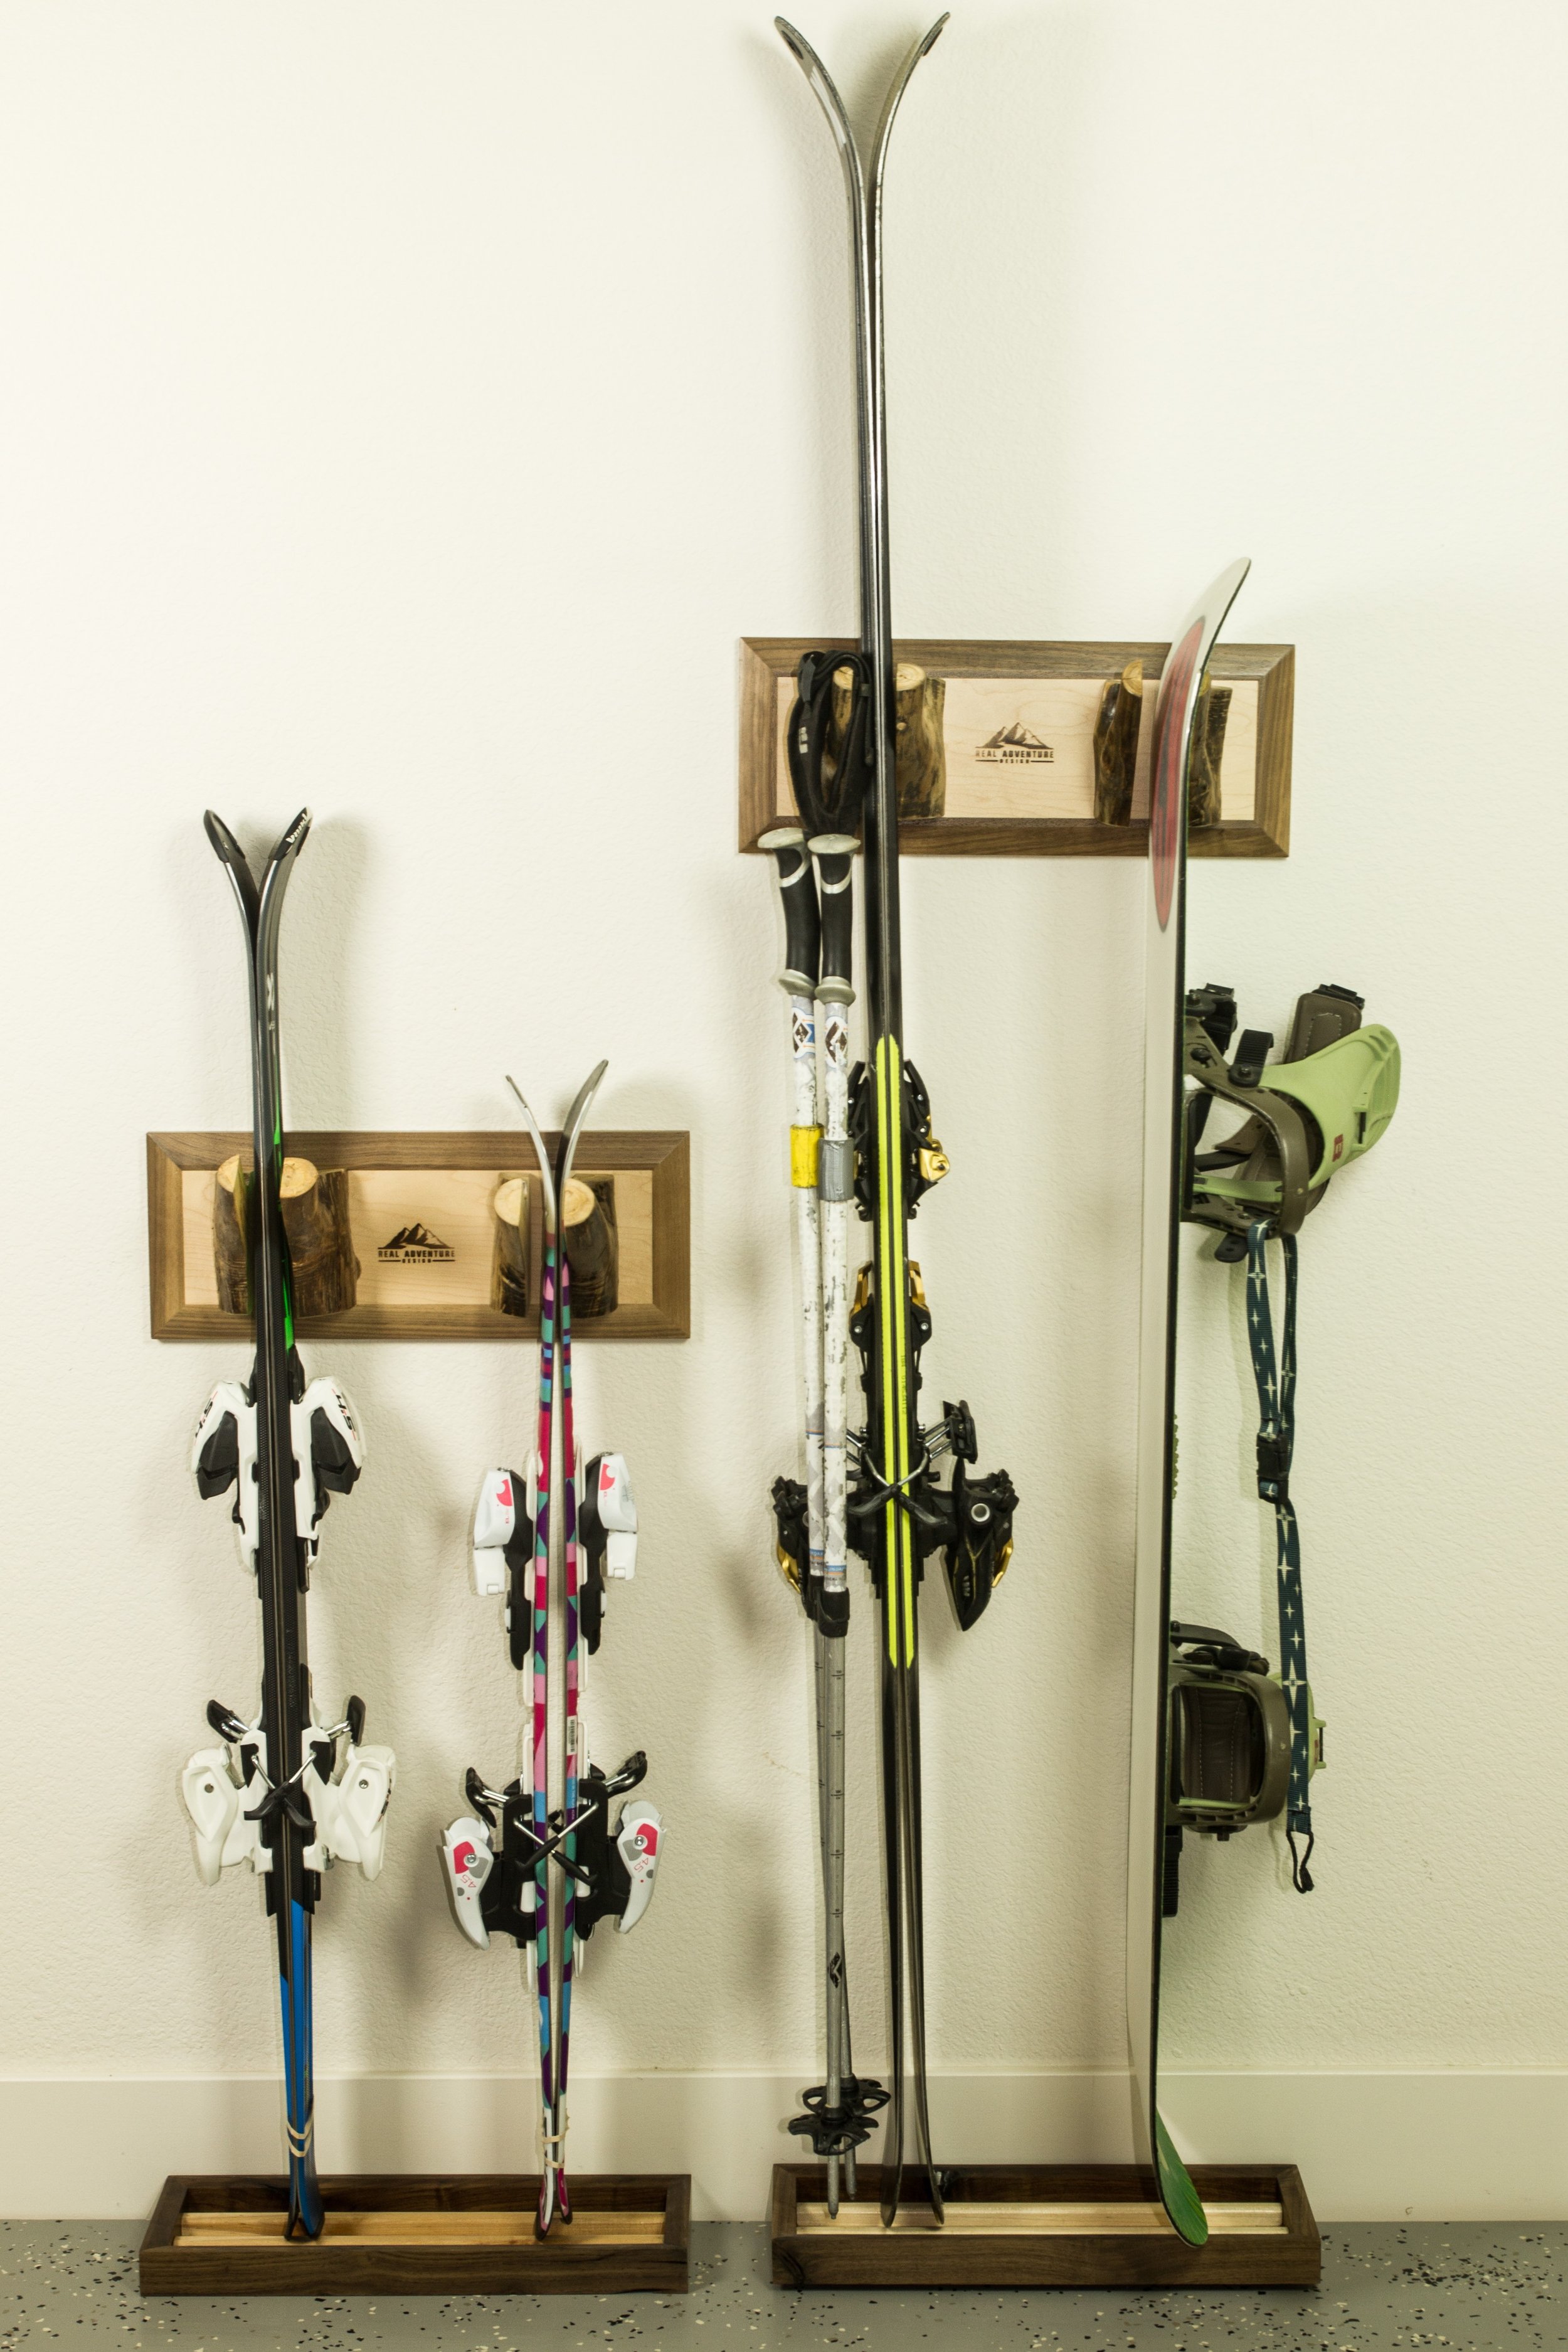
Rare earth magnets attract the metal ski edges and hold them securely against the rack until you want them. Because our ski racks grab the edges of your skis, you don't risk damaging your ski's performance by bending the ski tips. Natural aspen dividers are great for hanging your poles. The base collects all your ski drippings and has soft rubber feet for stability.
Mounting hardware included. Ships via USPS.


We do custom Laser burning! For more information, go here!
Specs and Sizing
2 ski - 7" X 18"
4 ski - 7" X 36"
6 ski - 7" X 54"
Features
Contrasting Maple and Walnut will store your skis with class.
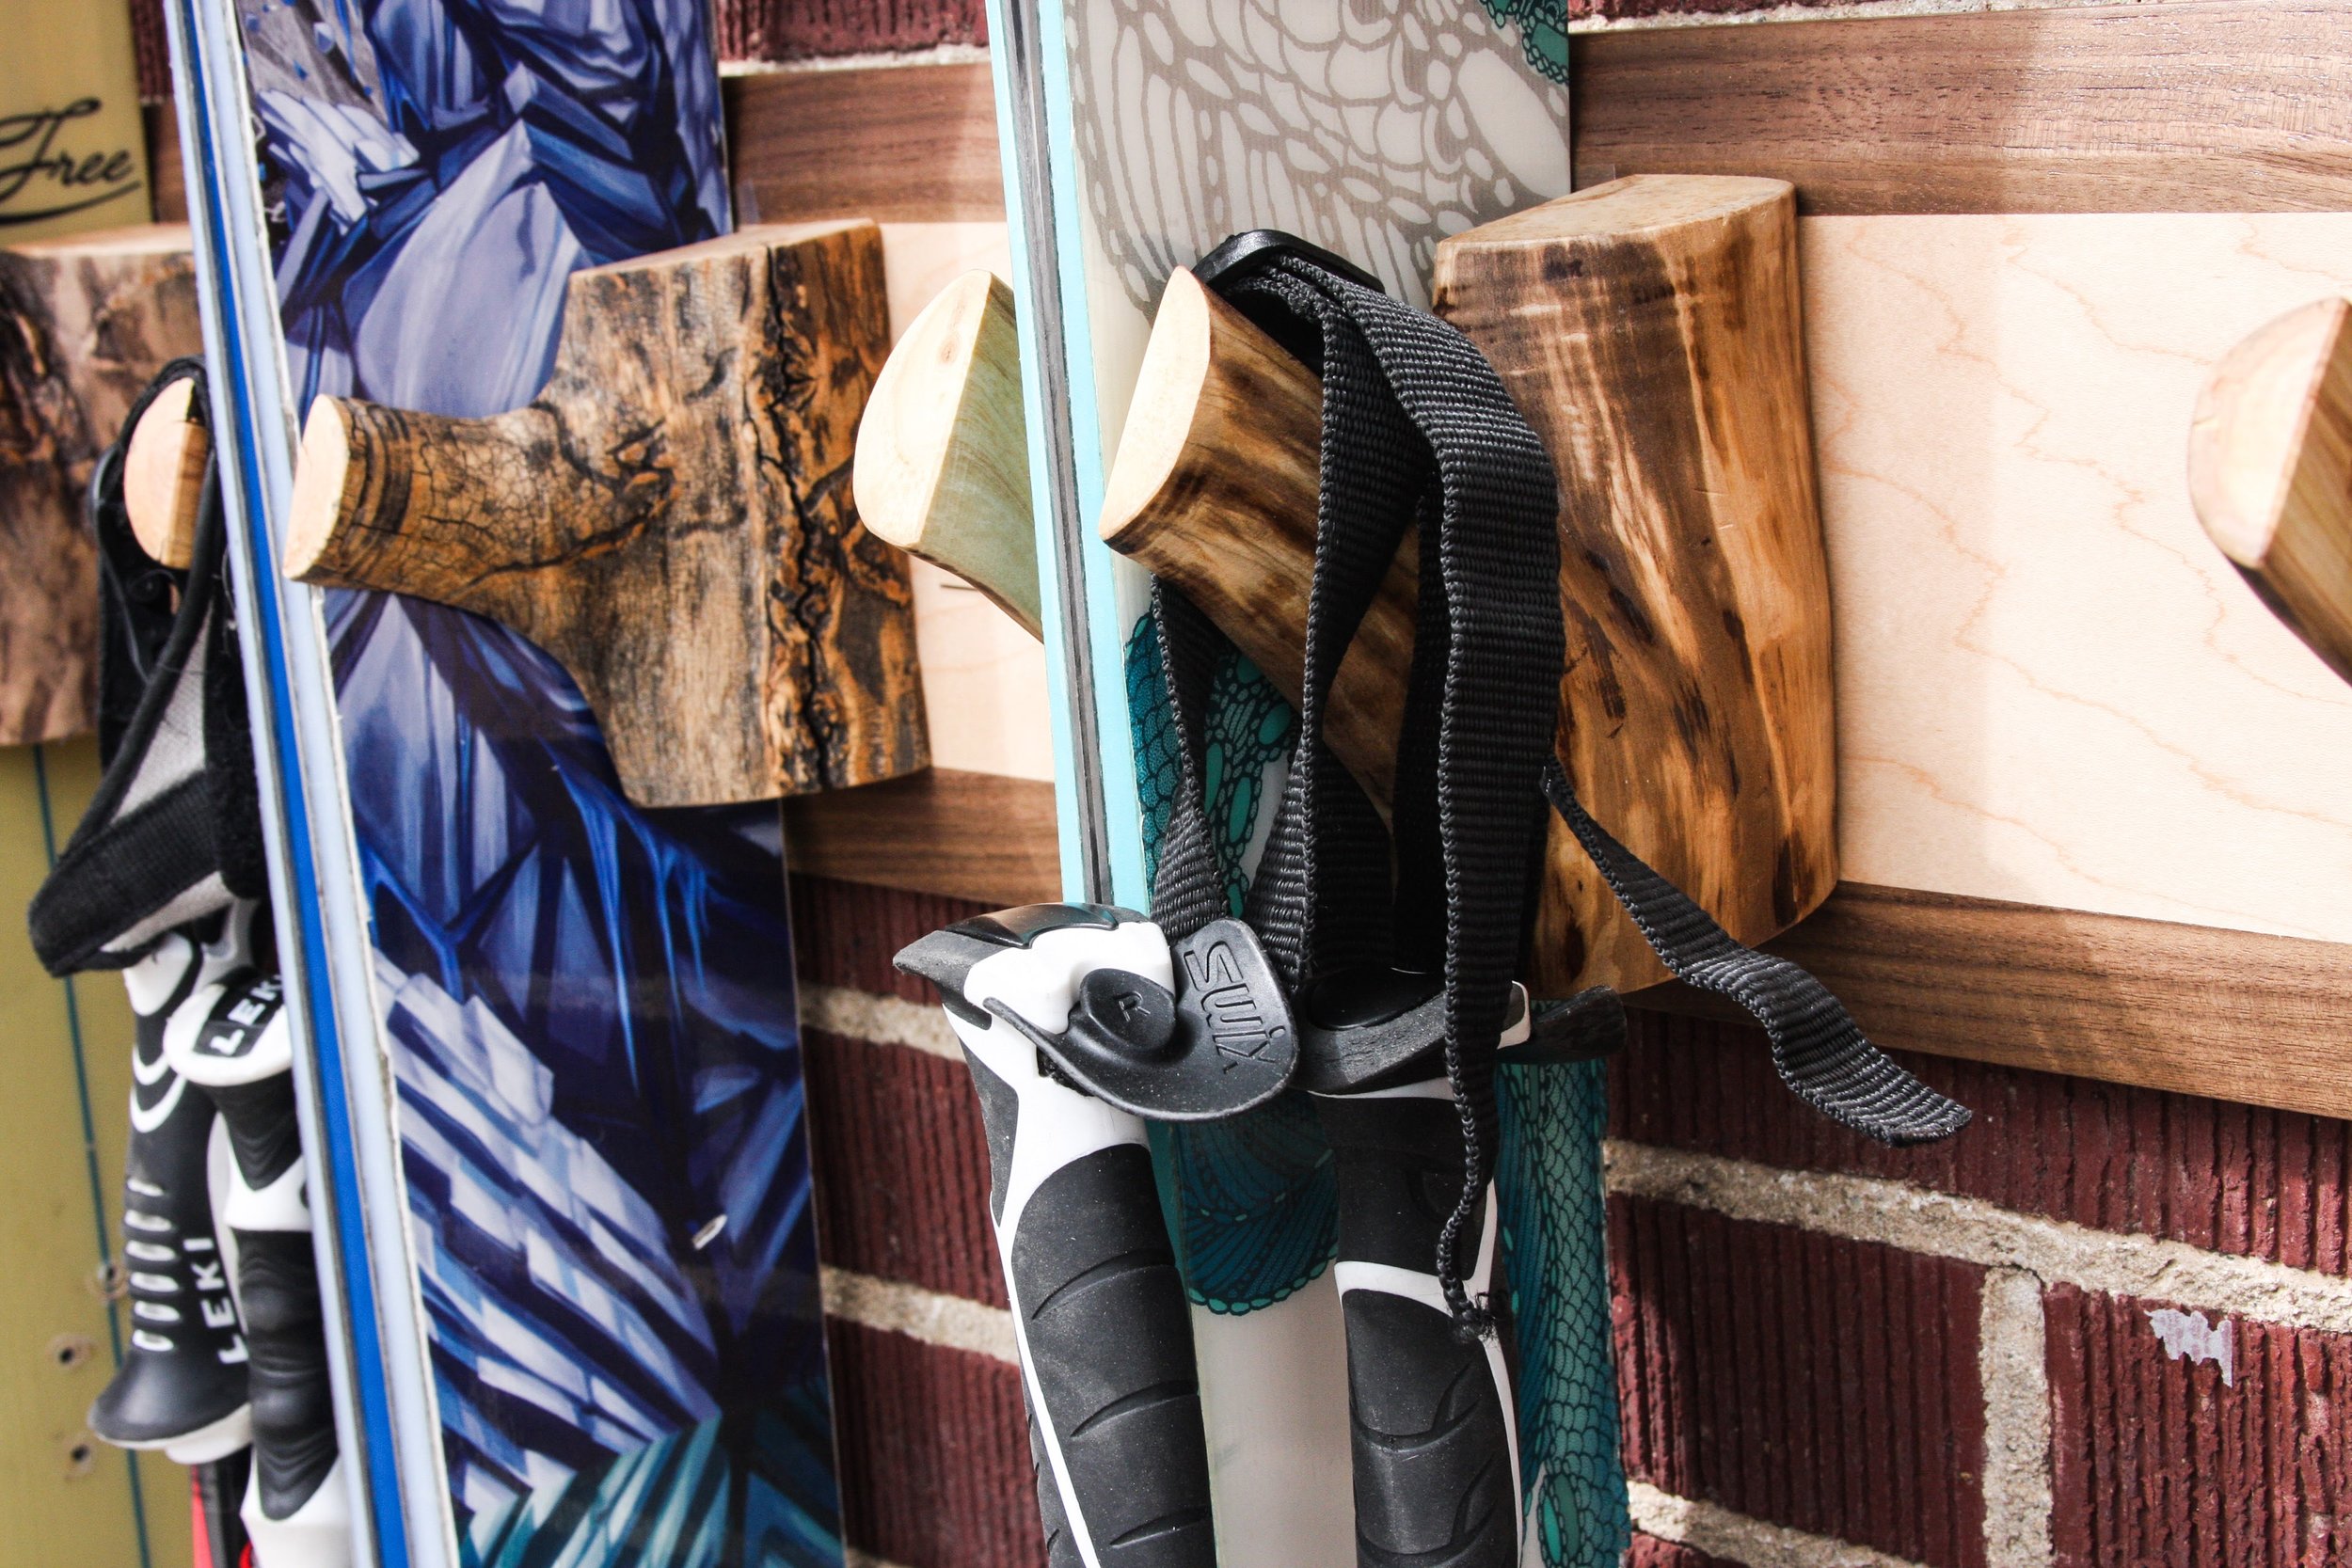
Sustainably Harvested aspen branch ski dividers double as pole hangers.
Rare earth magnets hold your skis securely, saving space.
Ski tray prevents skis from dripping on the floor, and rust from forming.
Ski tray is coated with epoxy making it water-tight. Leave the ski water in there until it evaporates.
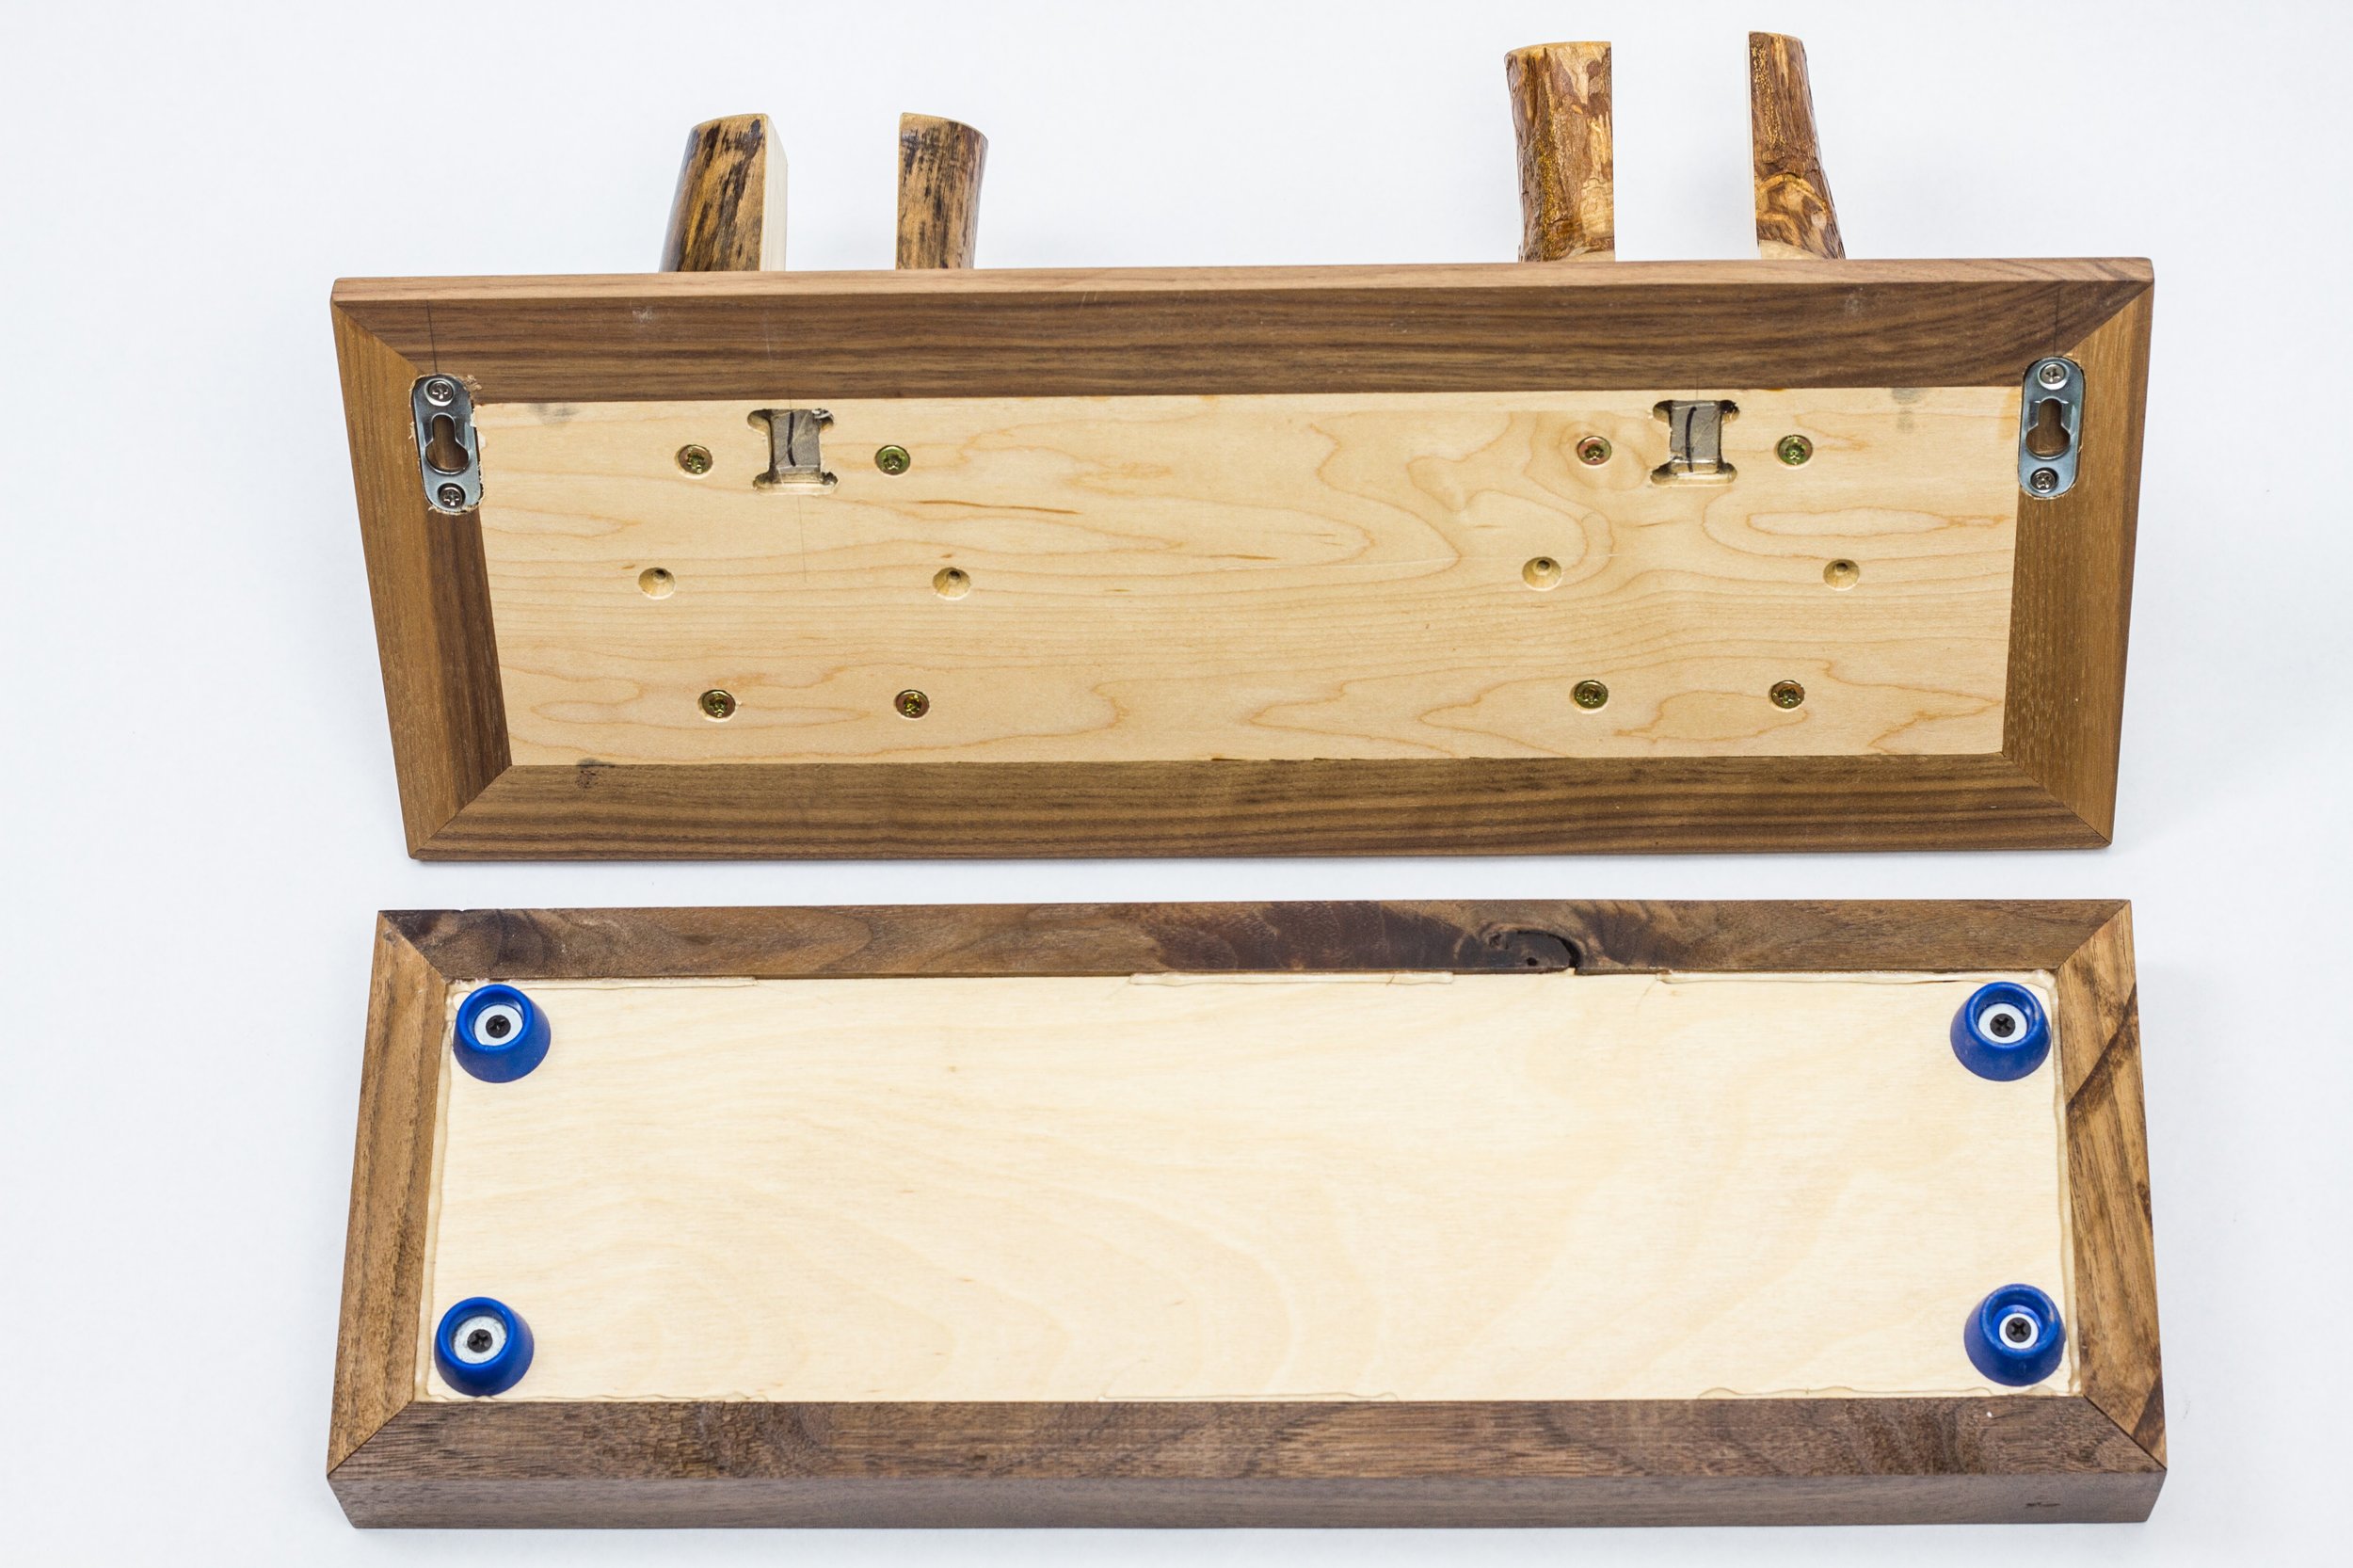
Non slip feet on ski tray work on any surface.
Easy installation with included hardware.
Handcrafted in the USA.
Construction and Materials
Maple and figured walnut.
Hand picked aspen branches add a unique touch.
Rare earth magnets within the rack.
Installing the Meaden ski rack - two options.
Using the permanent mounting tape
Decide where you want the rack to hang. Be sure to look at the height with the drip tray in place. Apply the 3M mounting tape to the rack and press firmly into place for 30 sec, keeping the rack level (there are great apps for this). For more information on the mounting tape, go here.
Using Keyhole Hardware - drill required
Pull out the included hardware pack, inside will be a drill bit, a driver bit, a template, and screws.
Decide where you want the rack on your wall. Be sure to look at the height with the drip tray in place. Mark the top left corner of where the rack will be.
Put the rack down, grab the template and the drill bit. Put the top left corner of the template on the mark you made. Level the template (there are great apps for this), and when satisfied, drill where indicated. Note if you hit a stud.
Remove the template and use the included screwdriver to install screws. Use the drywall inserts before the screws if you did not hit a stud and the wood screws where you hit a stud. Leave the screws proud of the wall and test by slipping the rack onto the screws. If it is loose, pull the rack off and tighten a quarter turn. If it cannot slip on, loosen. Continue until you are satisfied with the fit.